Articles
DIY Interior Finishing of a Sauna
Learn how to finish a sauna interior yourself, choose the right materials, and follow a step‑by‑step process to save money and ensure durability.

Articles
Learn how to finish a sauna interior yourself, choose the right materials, and follow a step‑by‑step process to save money and ensure durability.
As a rule, today the interior finishing of a sauna is performed by almost any construction company, but the cost of such work is quite high, so not everyone can afford to pay craftsmen for their labor. Expensive materials and painstaking work can be avoided by doing everything yourself, which allows you to save a lot. The main thing is to familiarize yourself with the finishing technology in advance and to choose the right material, making sure it is of good quality.
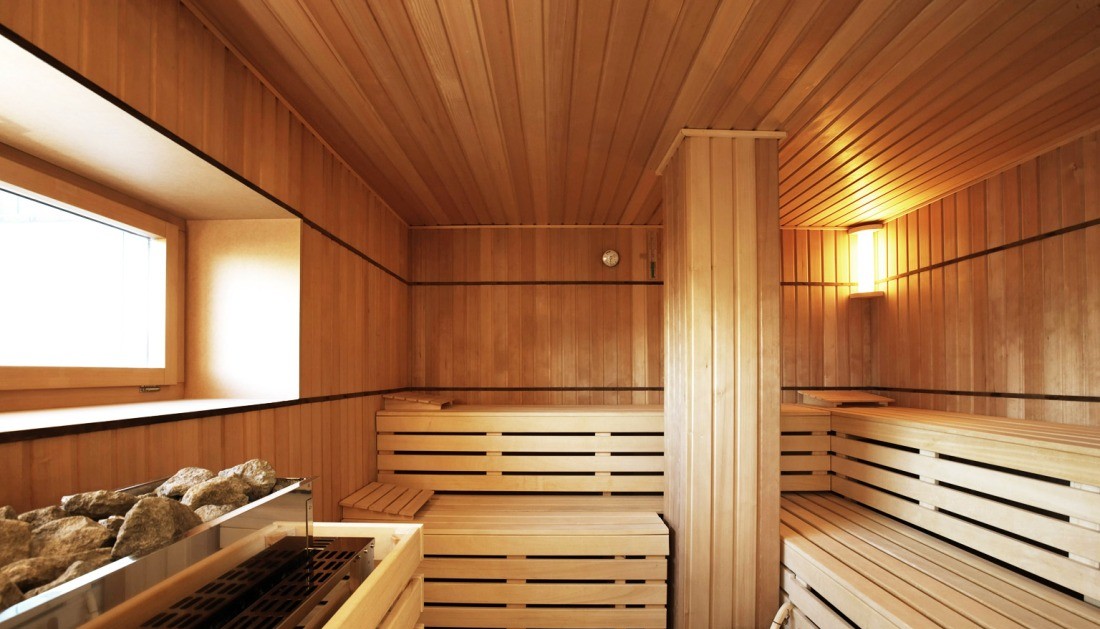
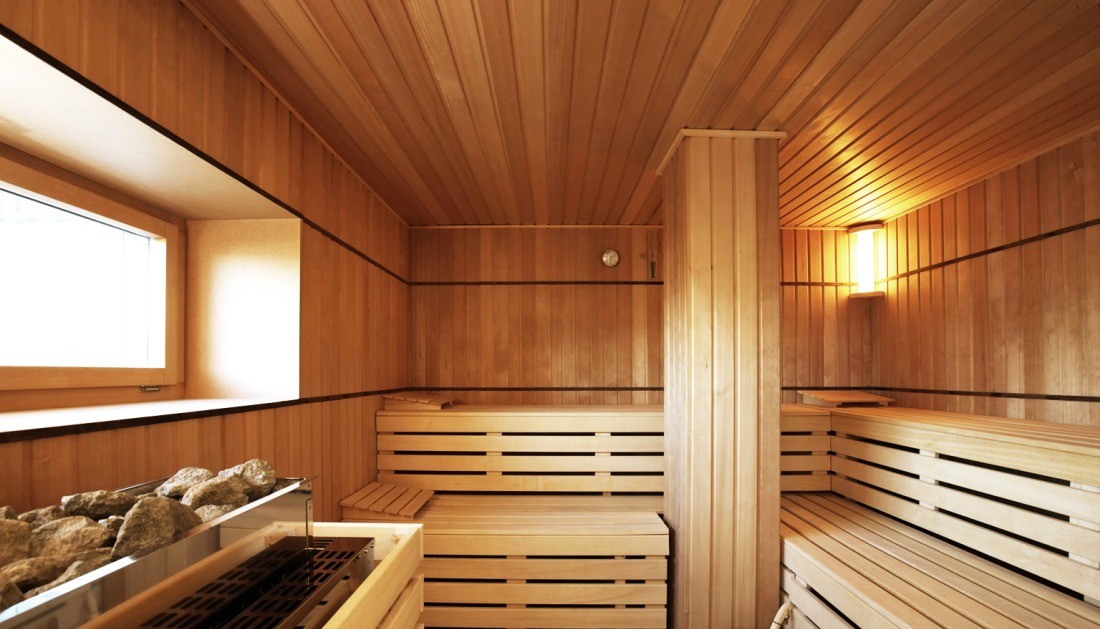
Initially, it is necessary to understand that the interior finishing of a sauna must simultaneously solve several tasks. The main ones are:
For the finishing to perform all these functions, the material must be selected correctly. Otherwise, after some time the craftsman will have to redo the work, again paying for consumables.
Selecting materials for interior finishing is one of the key stages. The durability of the sauna interior depends on the correctness of the final decision. The chosen finish must meet the following requirements:
The ideal option is wood, which possesses all the listed properties. In addition, it can both release and absorb moisture when necessary. Wood is also famous for its unique aroma and characteristics. The key is to choose high‑quality tongue‑and‑groove boards. If the material is overly dried and not allowed to acclimatize before installation, the steam room will cause it to swell after the first uses, as it absorbs moisture and expands significantly. Conversely, using raw boards may lead to noticeable gaps after they dry.
When discussing the finishing of a traditional Russian sauna with intense heat and abundant steam, it is best to opt for hardwood species. Larch, aspen, linden, and poplar are excellent choices. Their advantage is that such wood does not exude resin, does not overheat, has antifungal properties, and dries quickly during ventilation.
Often, ash is used for lining the steam room; it belongs to durable, strong species resistant to rot, and its core has an attractive appearance. As a rule, alder can be used for DIY interior sauna finishing. This sturdy, odorless wood with a uniform structure is ideal for constructions made of foam blocks or other fragile building materials. The main plus of alder is its inability to absorb foreign odors; it also has a distinctive light‑brown colour with a pinkish tint. Abroad, alder is the most commonly used wood for this purpose.
Coniferous woods should not be used for the steam room itself. For example, pine heats up strongly, making it uncomfortable to touch during a bath, although it can be used for the vestibule or relaxation room where the temperature is lower. In these spaces the pine aroma is pleasant and may help treat various infectious diseases. Experienced sauna‑goers also praise moisture‑resistant spruce tongue‑and‑groove panels with a pleasant orange hue.
A more expensive option is oak. This wood is highly durable, but it is unsuitable for interior sauna work because, under high temperatures, it becomes so pliable that it can be bent into various shapes. Oak, however, is resistant to rot.
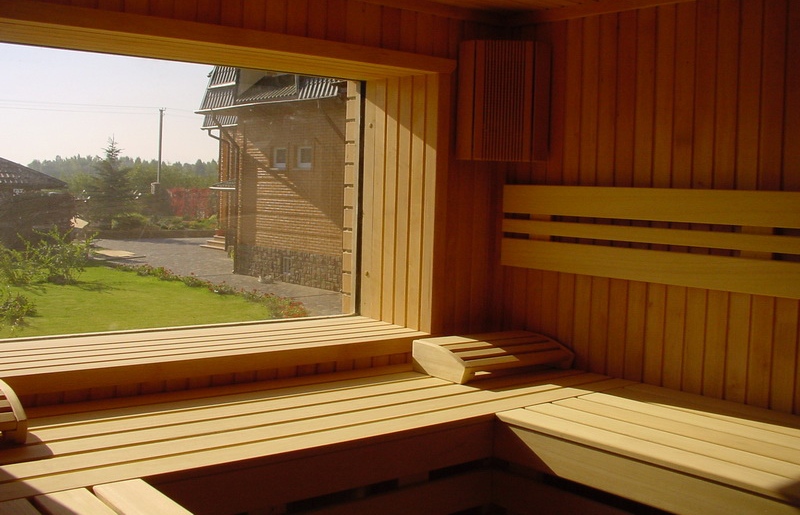
The interior finishing of a sauna is carried out in stages. If you follow the instructions, you can quickly and easily line a room of any size. The process can be divided into the following steps:
For fastening, use copper or bronze nails that will not rust after the first use of the steam room. The mounting method is simple: each subsequent panel is inserted into the groove of the previous one. Floors can be covered with ceramic tiles or again with hardwood boards. Oak, known for its wear resistance, can be used, but such a surface is quite slippery.
Some sauna owners leave the floors concrete, installing a “warm floor” system under the screed. This setup can be used only in the vestibule or relaxation room; interior sauna finishing with heated floors is prohibited because of the high humidity.
Comments