Articles
How to Build a Corrugated Metal Fence Yourself: Step‑by‑Step Guide
Learn how to correctly install a corrugated metal (profiled sheet) fence yourself, calculate material quantities, and follow each construction stage.

Articles
Learn how to correctly install a corrugated metal (profiled sheet) fence yourself, calculate material quantities, and follow each construction stage.
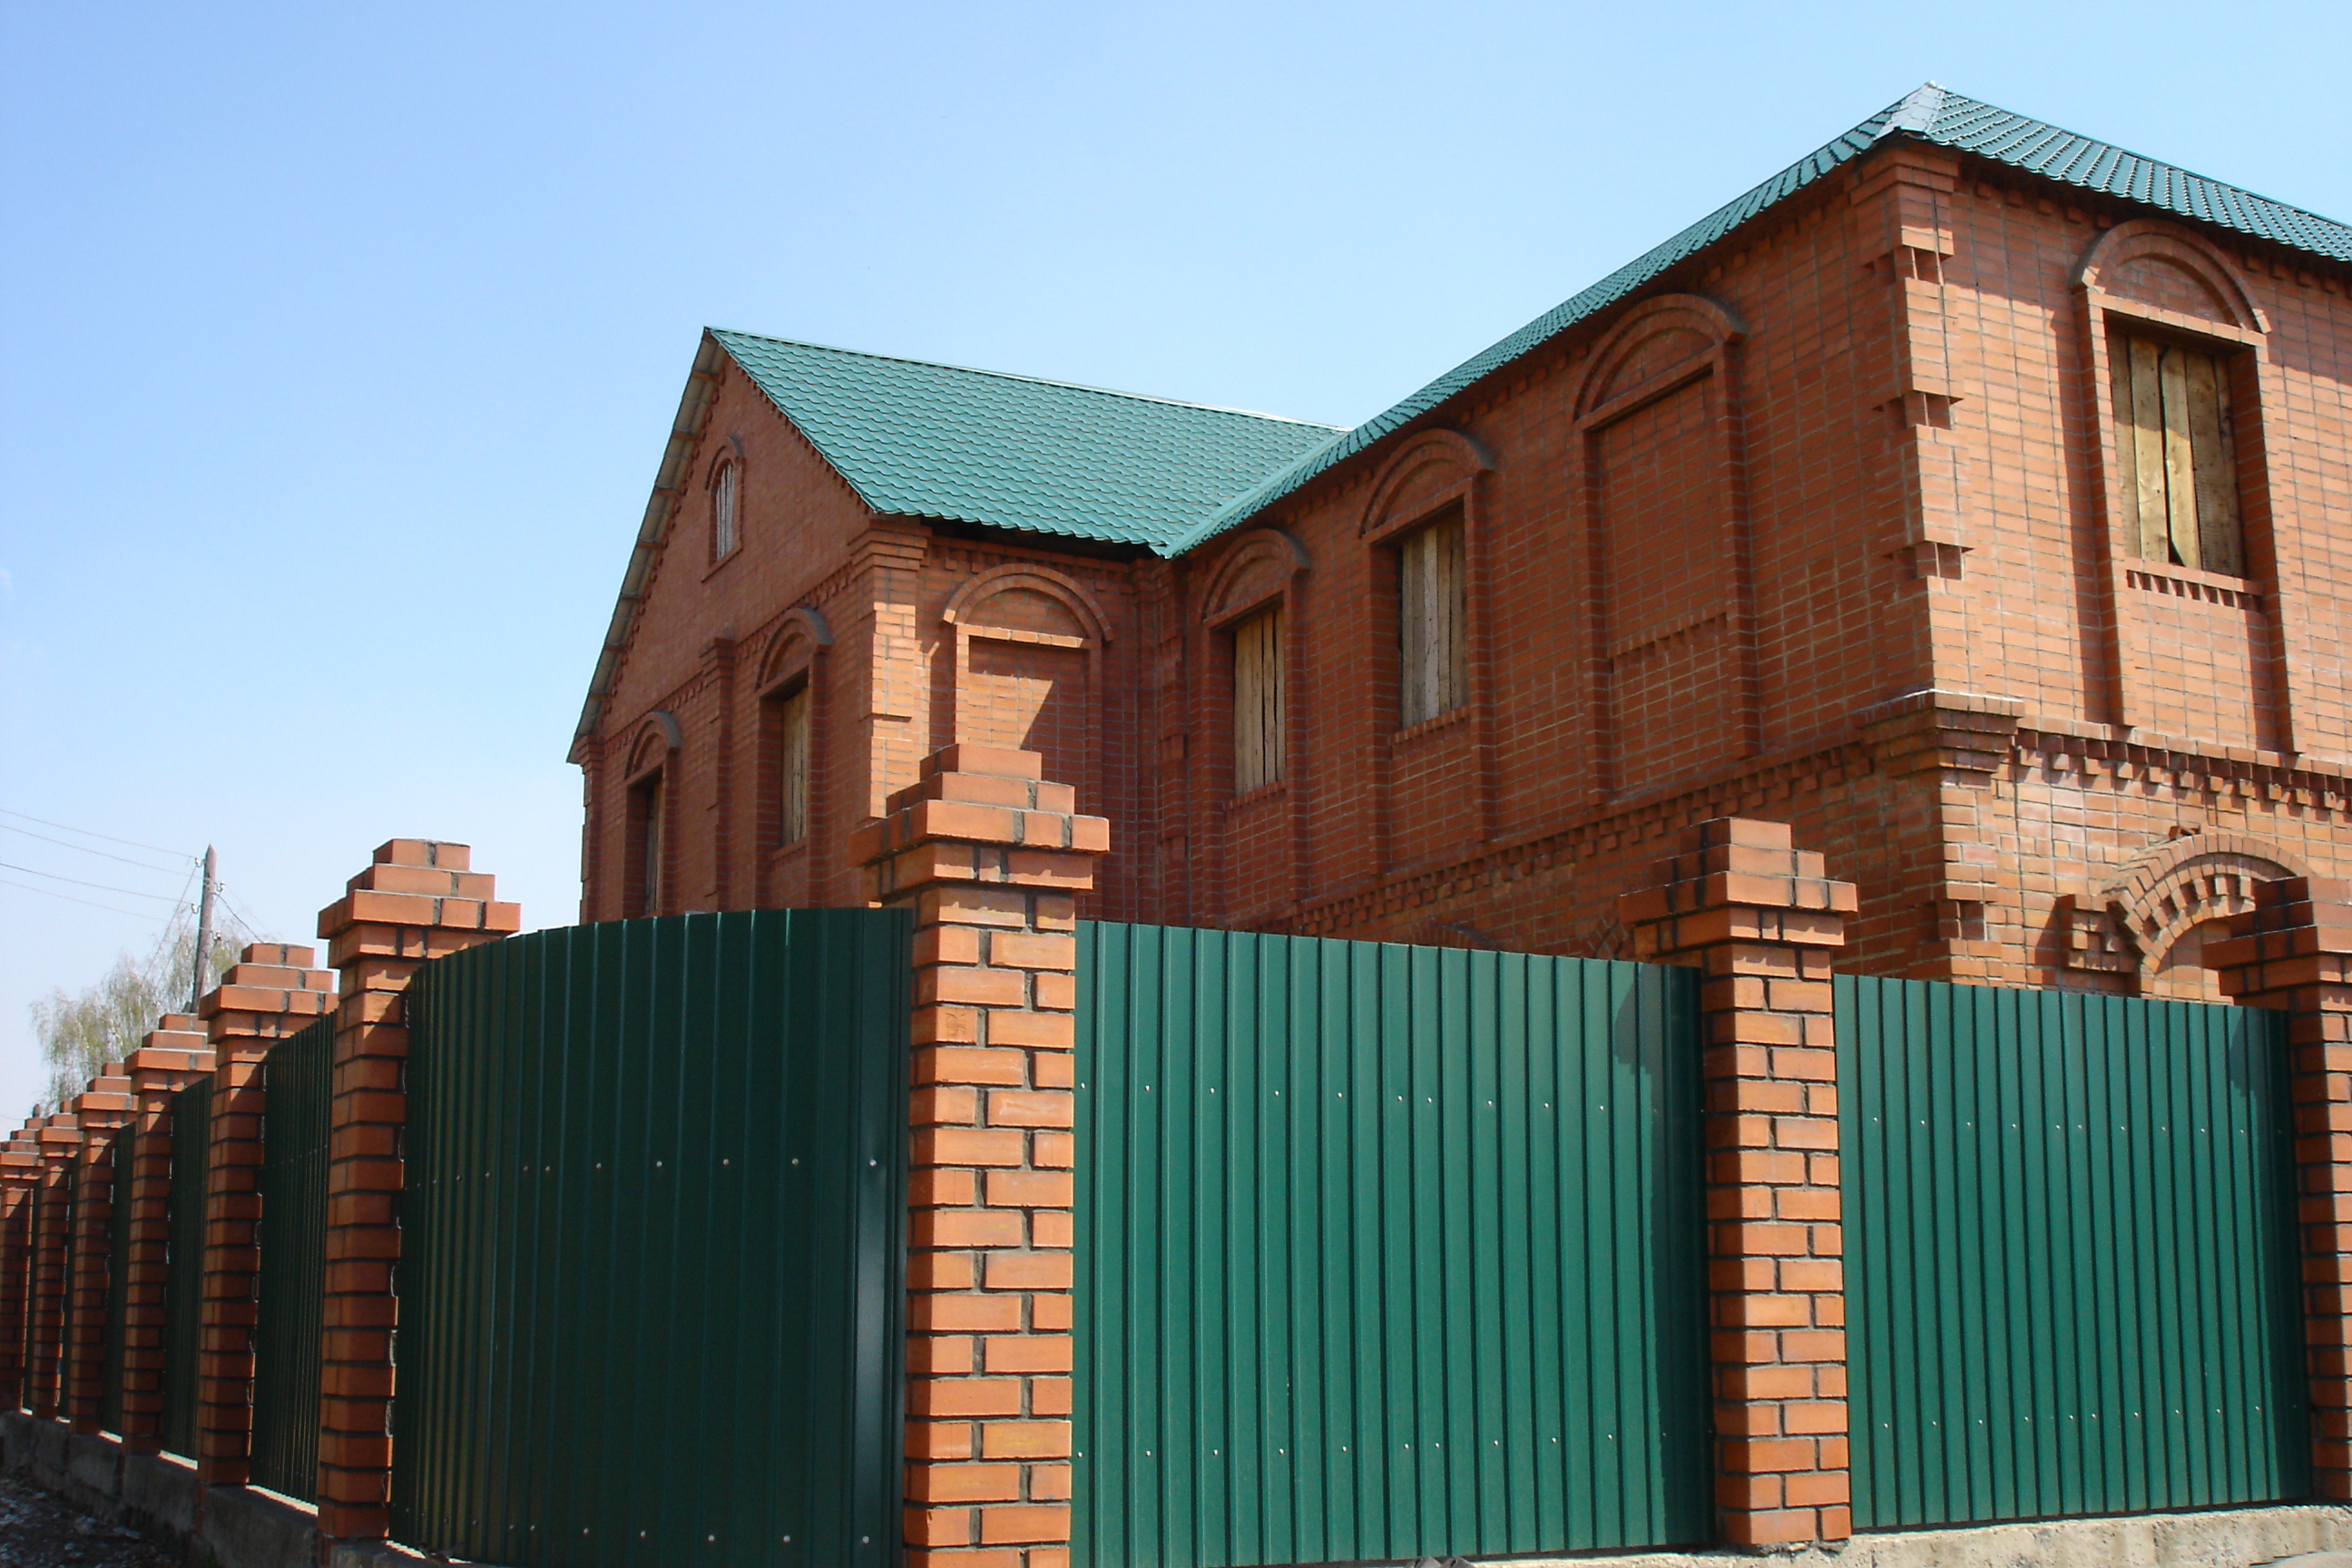
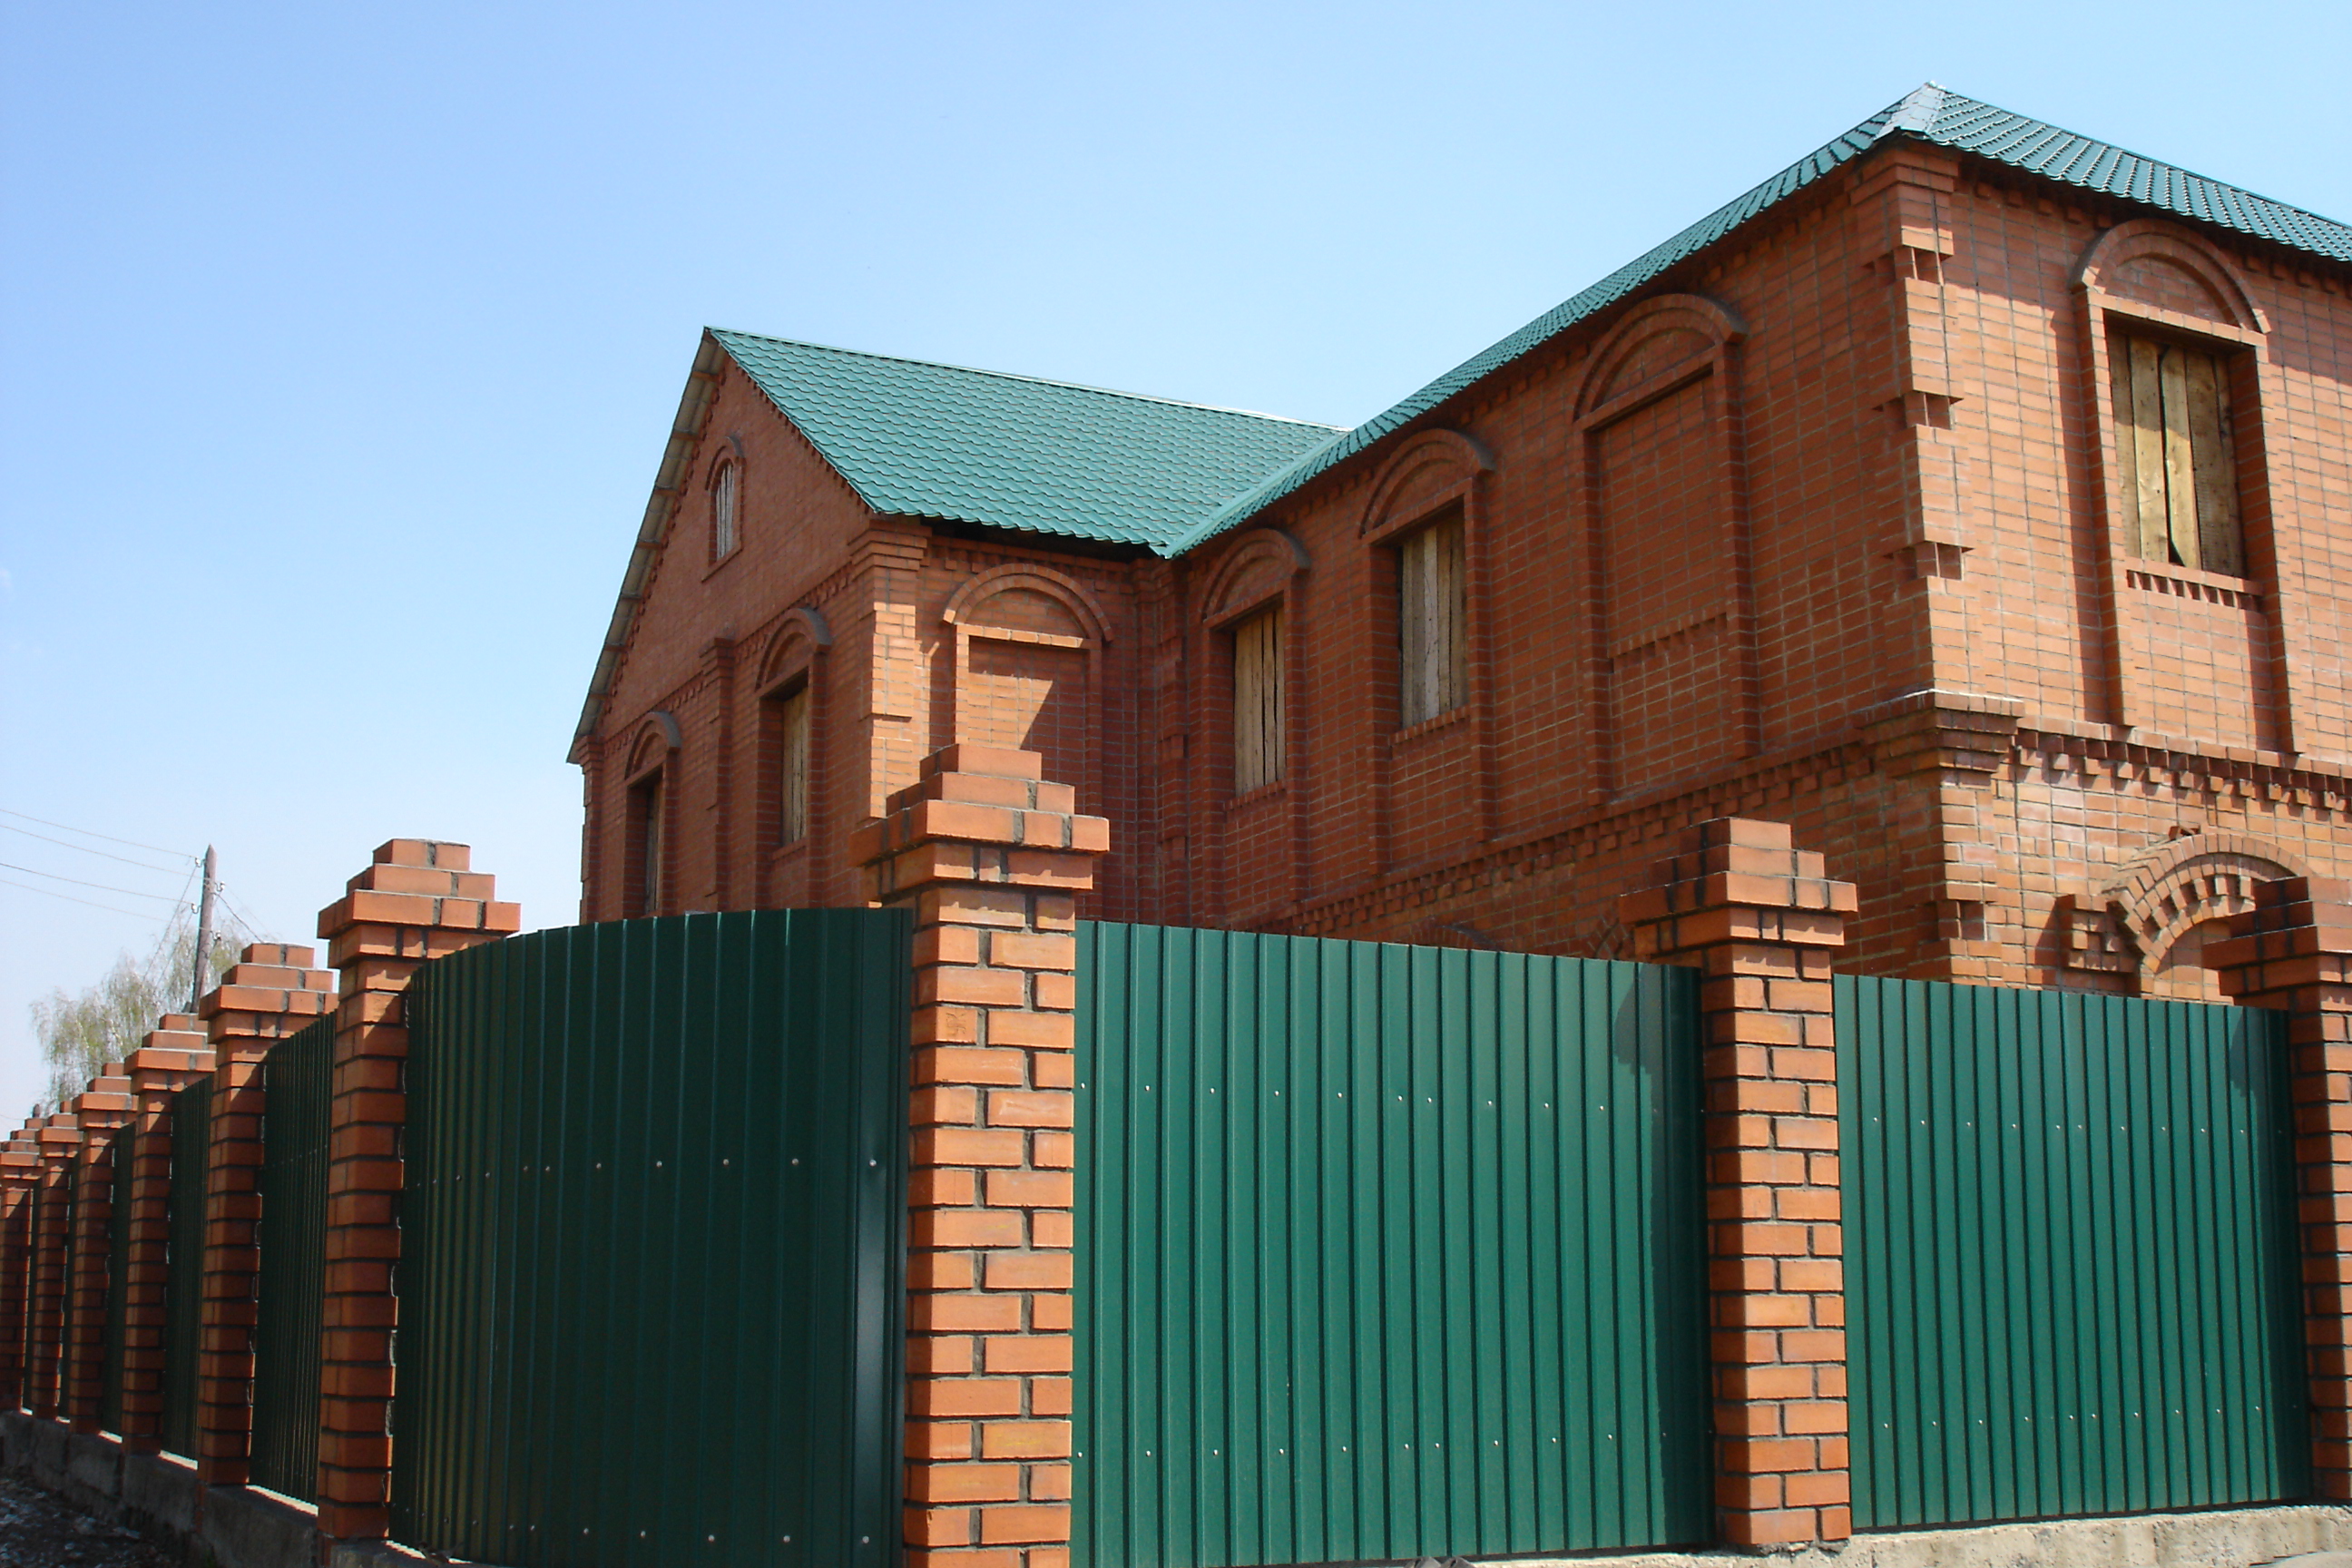
Today, among owners of country properties, a fence made of corrugated metal (profiled sheet) enjoys special popularity. Not long ago, profiled sheets were considered plain, simple material used exclusively for roofing small outbuildings, production workshops, garages, hangars, and for erecting fences around various construction sites. The situation has changed.
Modern manufacturers have brought galvanized sheets to a new, high level by approaching production with imagination and improving quality characteristics. As a result, corrugated metal fences are now used as enclosures for private houses and countryside cottages.
The innovative material is still a galvanized metal sheet, but its appearance has become more attractive. For example, the front side is now coated with a polymer layer that enhances protective properties and adds colour. Therefore, contemporary builders gladly use profiled sheets not only for roofing agricultural structures but also for constructing reliable fences. Another undeniable advantage of the material is the simplicity of its installation, which even a beginner can handle.
To correctly make a corrugated metal fence yourself, you need to become familiar with the construction rules. The procedure is fairly simple and does not require huge financial outlays, but it does demand thorough preparation. Observing all construction stages is essential.
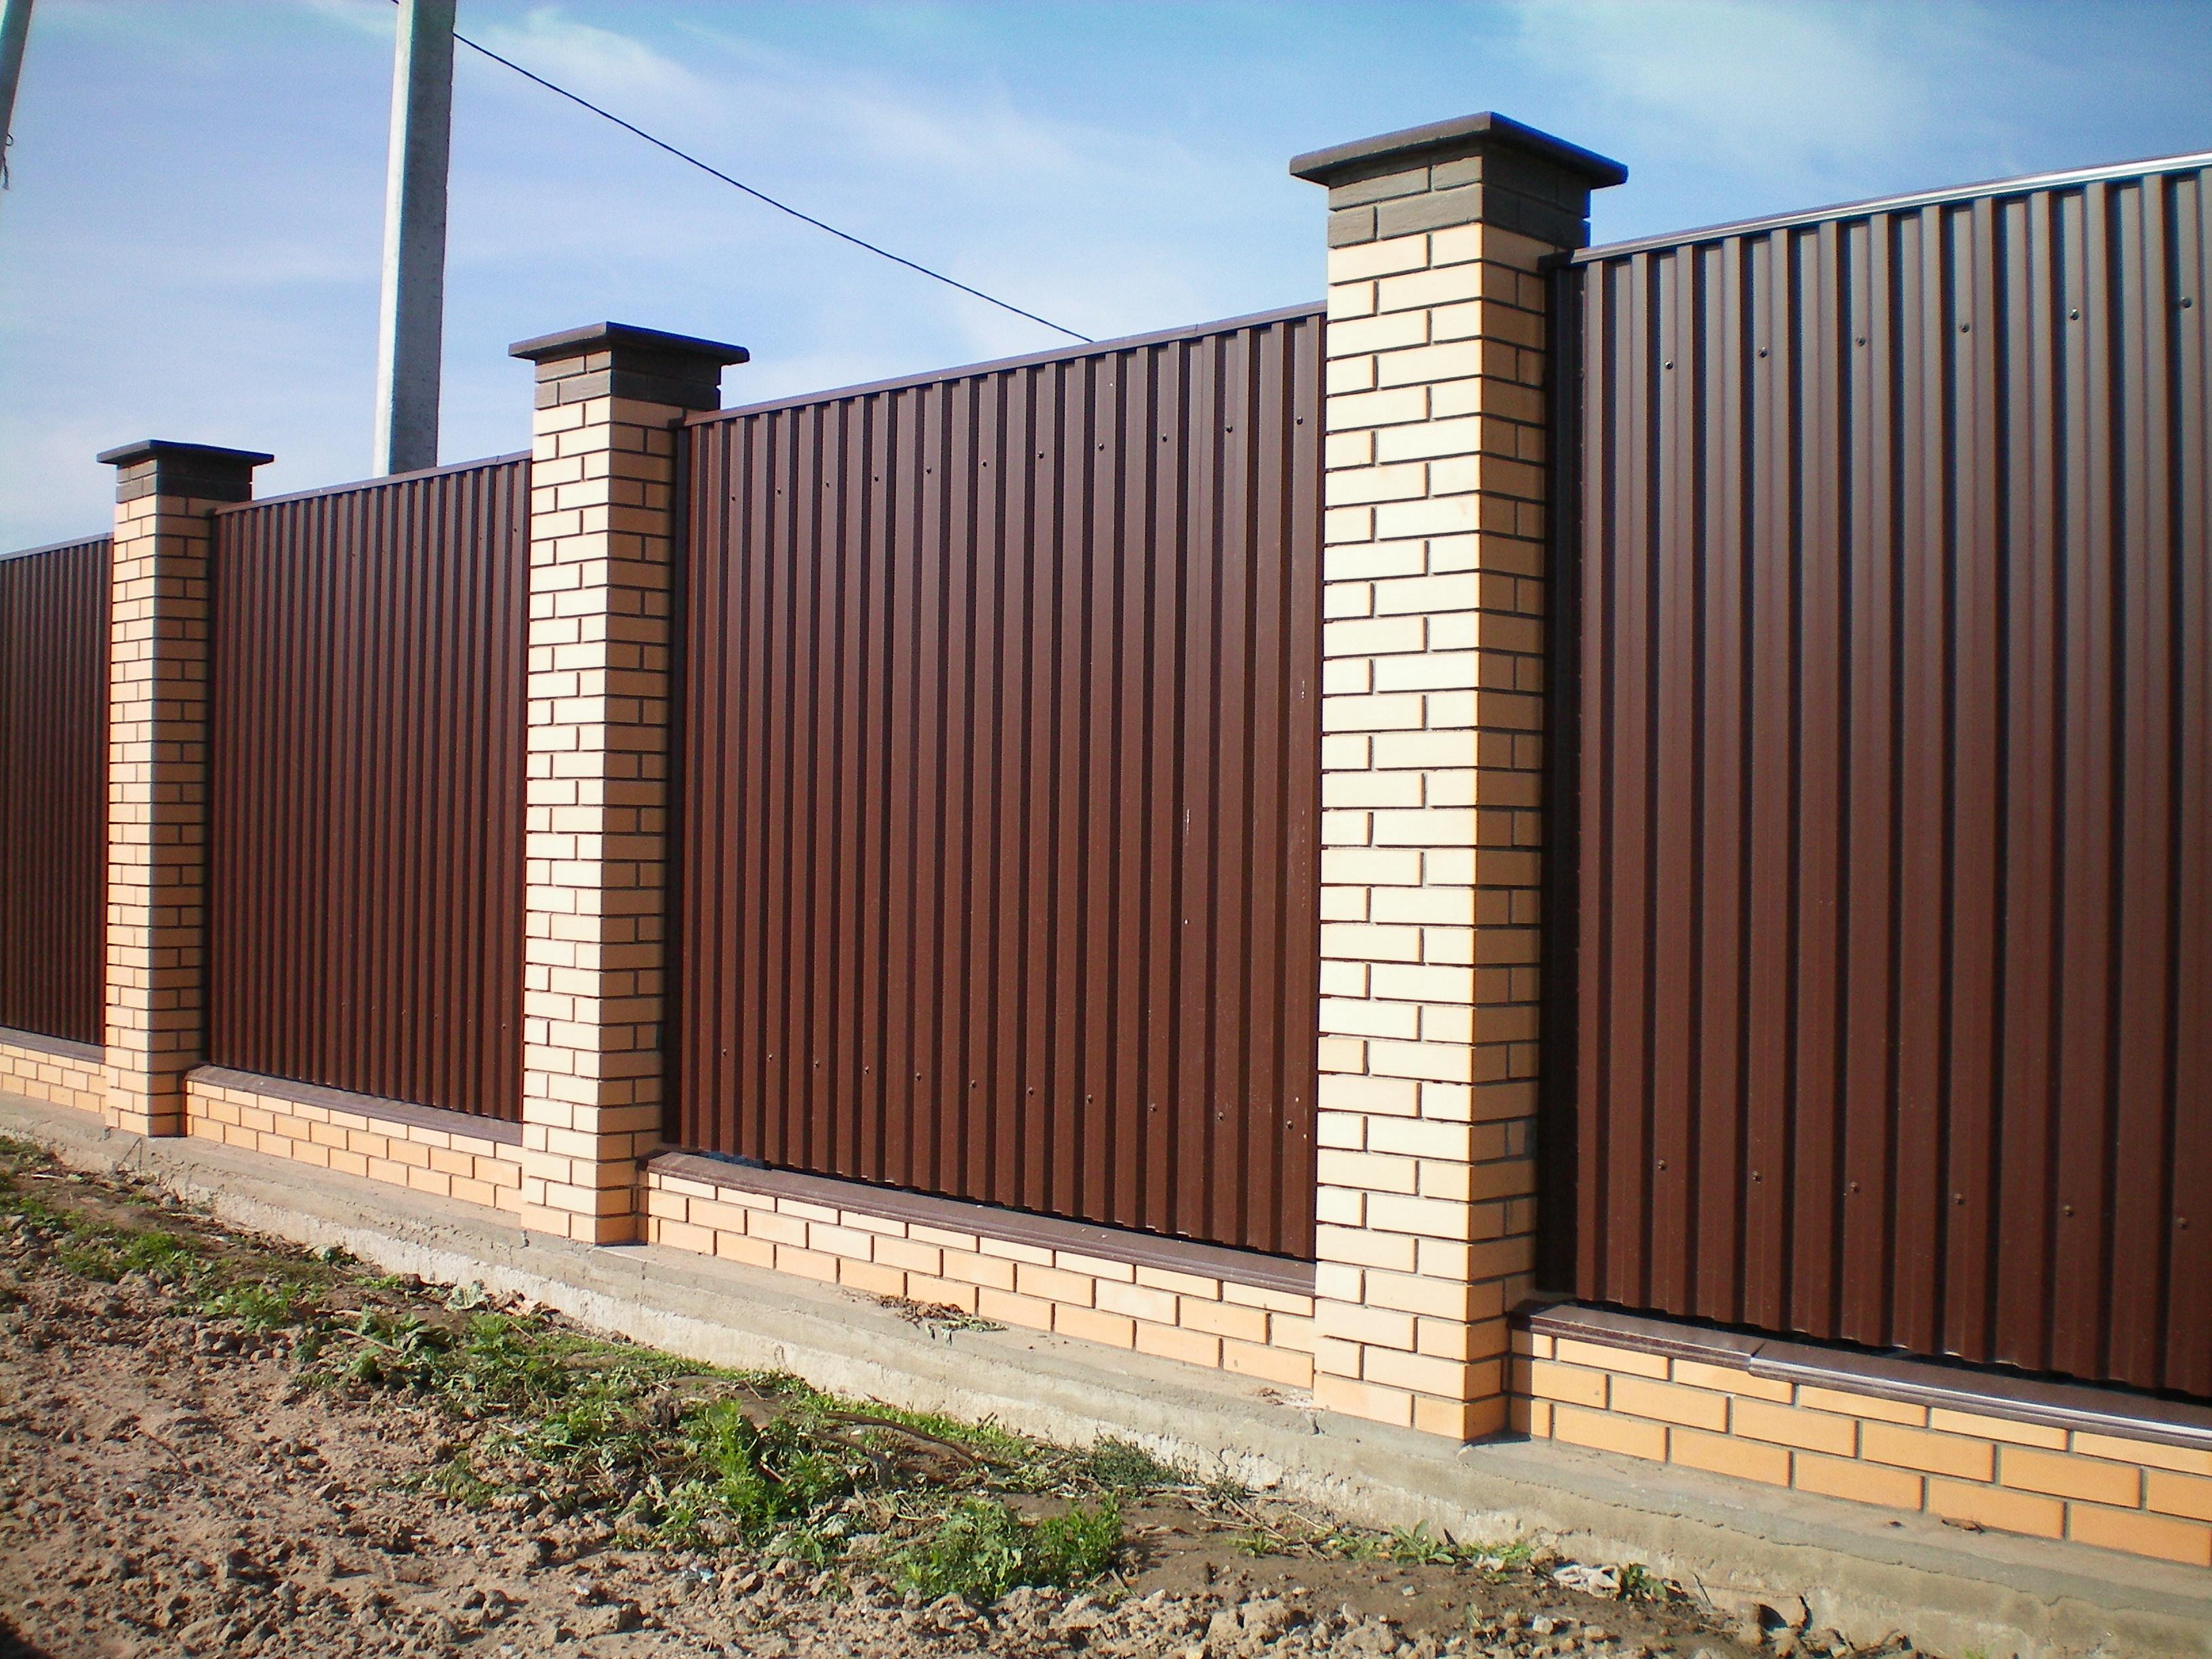
To perform the work at a professional level, the craftsman will need a specific list of materials. Before starting construction, appropriate calculations must be made:
To determine the required amount of profiled sheet, first decide the fence height. Galvanized sheets are produced in a standard length of 12 m, so it is best to divide them into a multiple number of parts. To calculate the number and size of posts, remember that each post length must equal the fence height plus an additional 30 % of that height, which will be buried in the ground. The optimal spacing between posts is 2 m. The quantity of cross rails is calculated based on the site plan, i.e., the perimeter of the fence. If the fence height exceeds 2 m, the rails are installed in three levels.
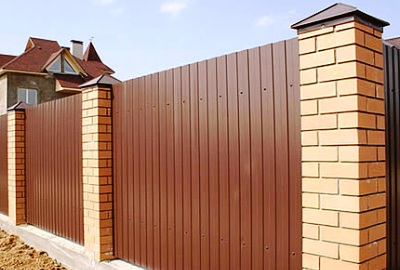
Following these steps will give you a durable, attractive corrugated metal fence built entirely by yourself.
Comments