Articles
How to Build a DIY Cottage Toilet: Step‑by‑Step Guide
Learn how to construct a functional outdoor toilet for your cottage, choose the right location, materials, and follow simple building steps.
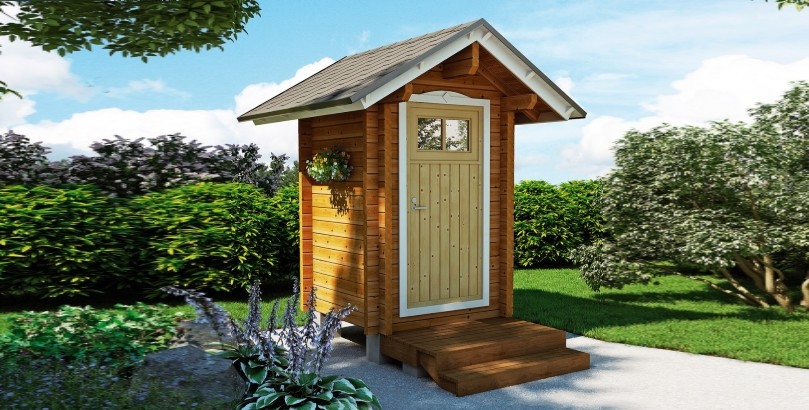

Articles
Learn how to construct a functional outdoor toilet for your cottage, choose the right location, materials, and follow simple building steps.
How a DIY toilet is usually the first building that appears on a cottage plot, and it isn’t hard to construct. Without this simple facility, true comfort cannot be achieved. First, the owner should carefully study the plot to determine the best place for an outdoor toilet and decide what type of construction is suitable. Then you can start working on drawings, gathering building materials, and tools.
Today there are several types of cottage toilets. The most popular are:
Construction does not take much time, but before starting work you must consider the groundwater level beneath the plot. Any design is suitable if the water layer lies deeper than two and a half meters. Otherwise a pit‑based toilet can become hazardous.
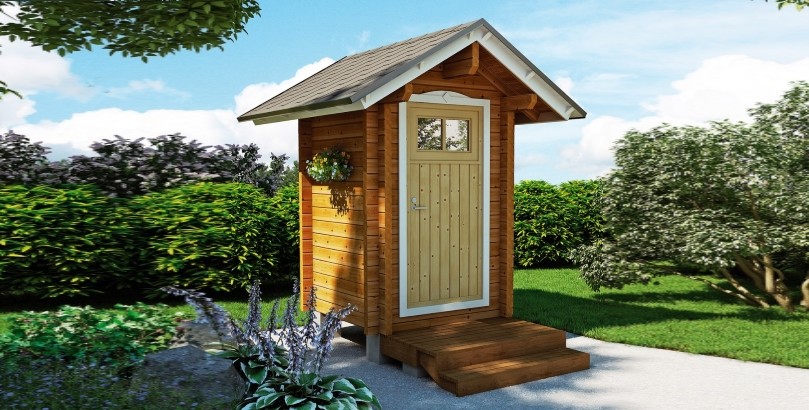
Before construction, select the future spot taking into account several restrictions that apply to pit‑based designs. In addition to groundwater level, pay attention to:
When choosing the location, also consider the prevailing wind direction. Position the door so that unpleasant odors do not affect neighbors.
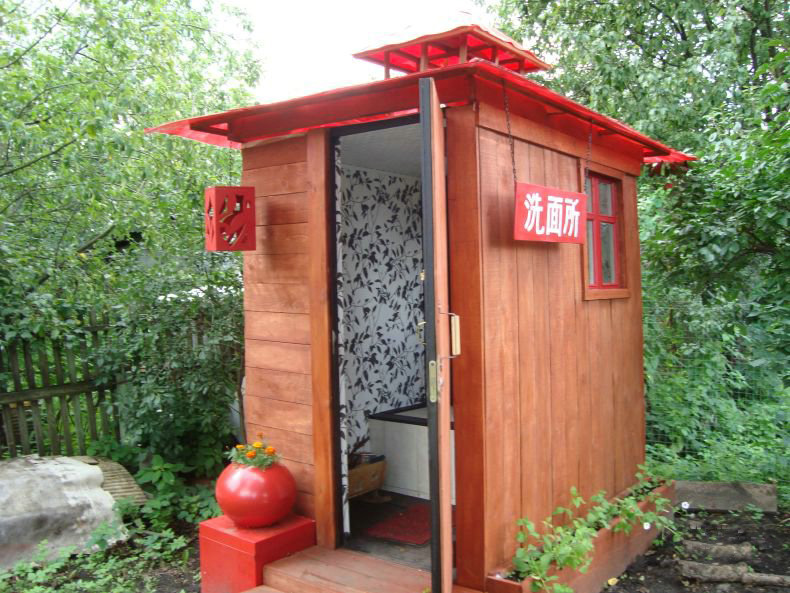
Any cottage owner with basic tool skills can set up an outdoor toilet. Before building, you need to develop or find a suitable drawing. The simplest option is a toilet that works without a pit, eliminating the need for excavation.
The dimensions of the toilet cabin should allow comfortable use. Traditional sizes are:
These parameters can be increased if needed. Smaller dimensions are permissible, but the toilet will be less comfortable in use.
A builder can base the project on a ready‑made plan found online. The main requirement is that all measurements are accurately calculated for the specific plot. You can perform the calculations and create a drawing yourself if you have the necessary training.
Most builders today opt for wood when constructing a DIY cottage toilet, but alongside wooden boards for cladding, other materials such as slate, metal siding, plywood, brick, and others are also used. Sheet materials are the most convenient because they significantly reduce construction time. However, a wooden cabin feels more comfortable inside, as wood breathes, allowing excess moisture to escape and ensuring good air exchange. The only drawback of wood is the need to treat the components with a special sealant that protects against water damage.
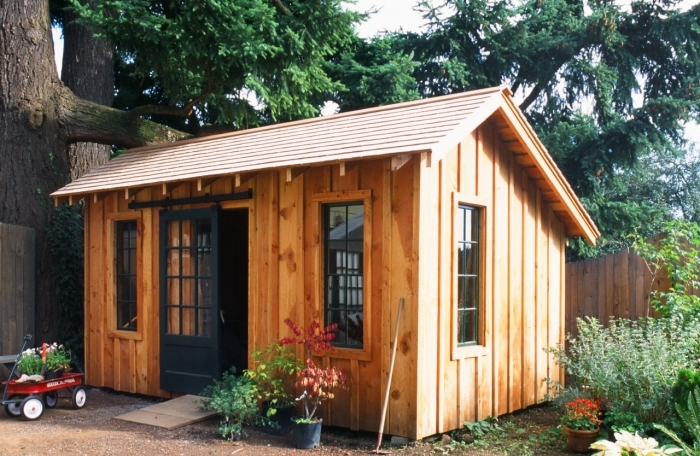
A massive, heavy foundation is not required because the structure is built from lightweight materials. You need a concrete foundation only when pouring a pit or building the toilet from blocks or bricks. After any light foundation is completed, you can start assembling the frame, which requires four vertical supports, bracing for the seat level and roof, a door‑frame structure, and diagonal ties.
Frame construction ends with cladding. Then the builder should prepare sheet metal or metal tiles. If the lath is wooden, it is best to use roofing felt to provide reliable protection against external moisture. Before completing the DIY cottage toilet, decide which roof type is preferable – a single‑slope or double‑slope roof that does not retain water. The opening for the ventilation pipe must be sealed carefully.
Comments