Articles
How to Build a DIY Fence for Your Country House
Learn how to choose materials, prepare posts, and construct a durable profiled sheet fence for your dacha with step‑by‑step instructions.

Articles
Learn how to choose materials, prepare posts, and construct a durable profiled sheet fence for your dacha with step‑by‑step instructions.
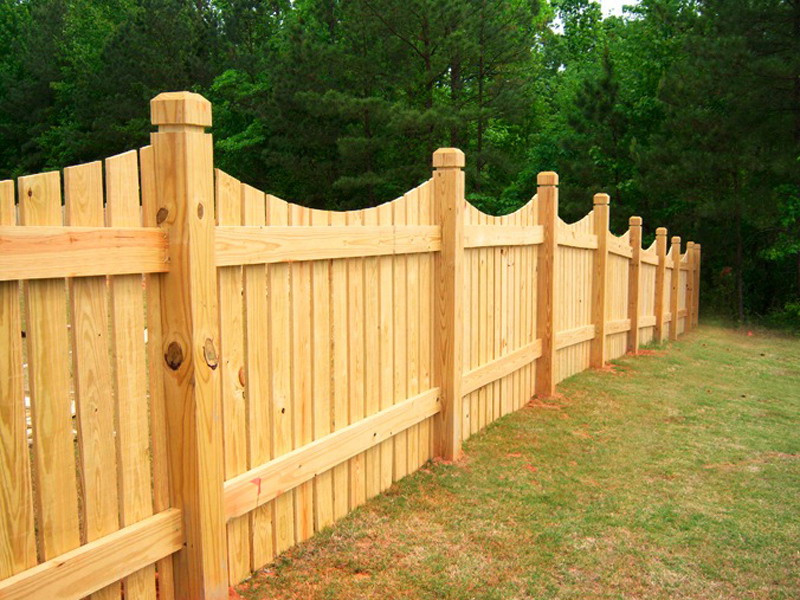
Any country property should be well protected, so every owner must know how to make a fence that will guard the plot against wandering animals and unwanted eyes. Today there is a huge variety of materials, offering many options. For a dacha it is impractical to build brick or concrete fences, and the days when simple picket fences were common are over.
The most acceptable option is profiled sheet metal (prof‑sheet), a high‑quality, durable material popular among modern users. In addition, profiled galvanized sheet comes in a wide range of colors, so such a fence will blend naturally into any landscape design. This material is available in many types that differ in wave width, wave depth, and sheet thickness. How to choose, and how to build a fence yourself that will last for many years?
First, note that galvanized sheet with a thickness of 0.4 mm is less resistant to mechanical impact and dents easily, so this option is unsuitable. The main advantages of the material are:
Today galvanized profiled metal sheet is frequently used to create enclosure structures around construction sites, foundations, or country cottages. With the material chosen, how do you actually build the fence? Follow the step‑by‑step guide below.
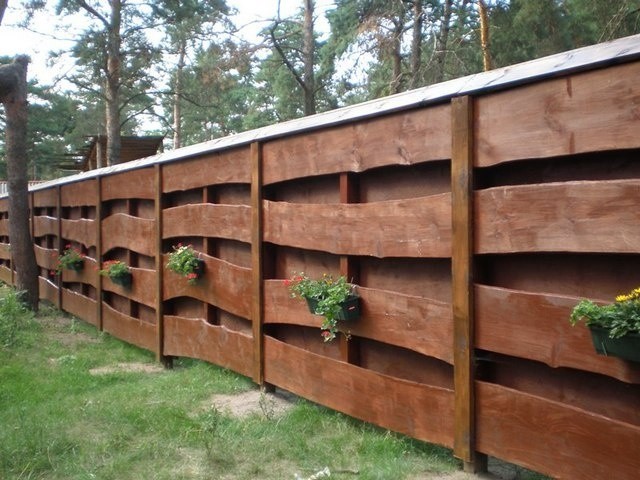
Besides the prof‑sheet itself, the builder must prepare posts, which can be round or square in cross‑section. Factory‑made three‑meter hollow posts have a top plug that prevents moisture from entering the post. The most suitable posts for a fence have a 60 × 60 mm square cross‑section; if round, the diameter should also be 60 mm.
Lags (horizontal rails) are used to attach the profiled sheet to the posts. Transverse lags are rectangular three‑meter profiles with a 20 × 40 mm cross‑section. The fastening elements are self‑tapping screws matched to the prof‑sheet thickness. To avoid accelerated corrosion, use special fasteners that come with a sealing washer.
Before building the fence without external help, mark the territory using a cord, stakes, and a simple or laser tape measure. The first stakes indicate the positions of intermediate and main posts. Typically the spacing is 2 – 2.5 m, meaning one post per span.
To set the posts, drill holes at the marked points with a garden auger; line the bottom of each hole with a gravel cushion. Then prepare a concrete mix and pour it into the holes. Before attaching the transverse lags, the concrete must fully cure, which takes about 2‑3 days.
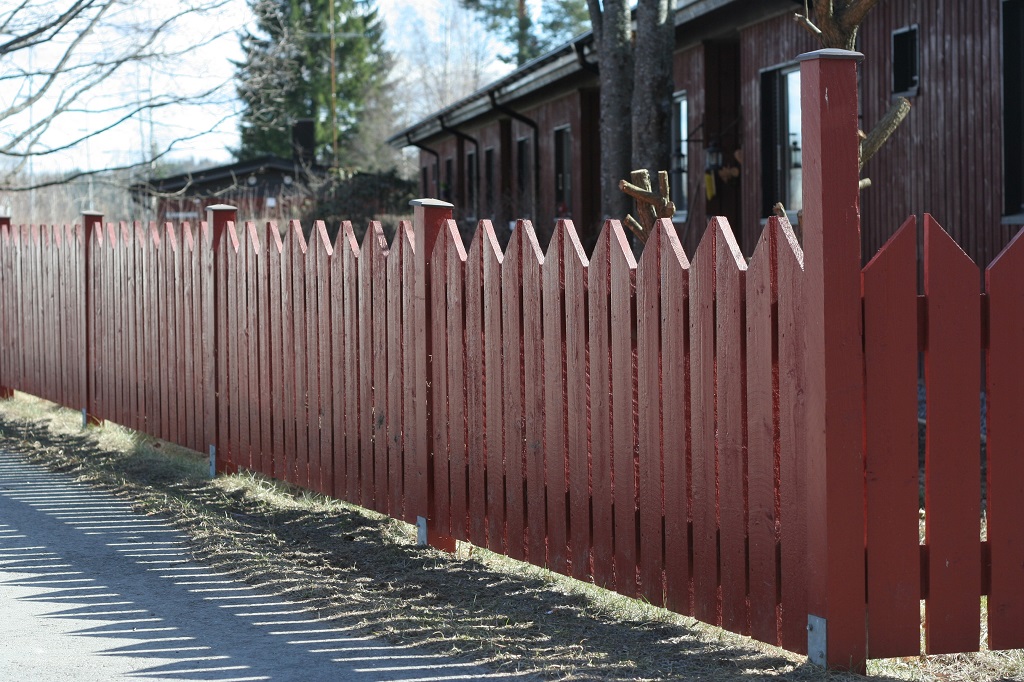
Lags are installed by welding. This method is considered the most reliable, strong, and economical. Before starting, the builder should acquire a welding machine and learn how to use it safely. The sheet panels are then fixed to the lags with a screwdriver/driver suitable for metal work.
Several important nuances must also be observed:
Install the panels on the transverse lags strictly vertically, with the corrugated surface facing upward. If all details are taken into account, the fence will serve for many years. Therefore, even a novice should study the theory first. The sequential actions outlined in this instruction will help the builder understand the process without needing prior construction experience. Every detail matters—you need to know not only how to build a fence but also how to select materials, make connections, and more.
Comments