Articles
How to Build a DIY Sauna for Your Country Cottage
Learn step‑by‑step how to build a durable, comfortable sauna for your country cottage, from material selection to layout and construction.

Articles
Learn step‑by‑step how to build a durable, comfortable sauna for your country cottage, from material selection to layout and construction.
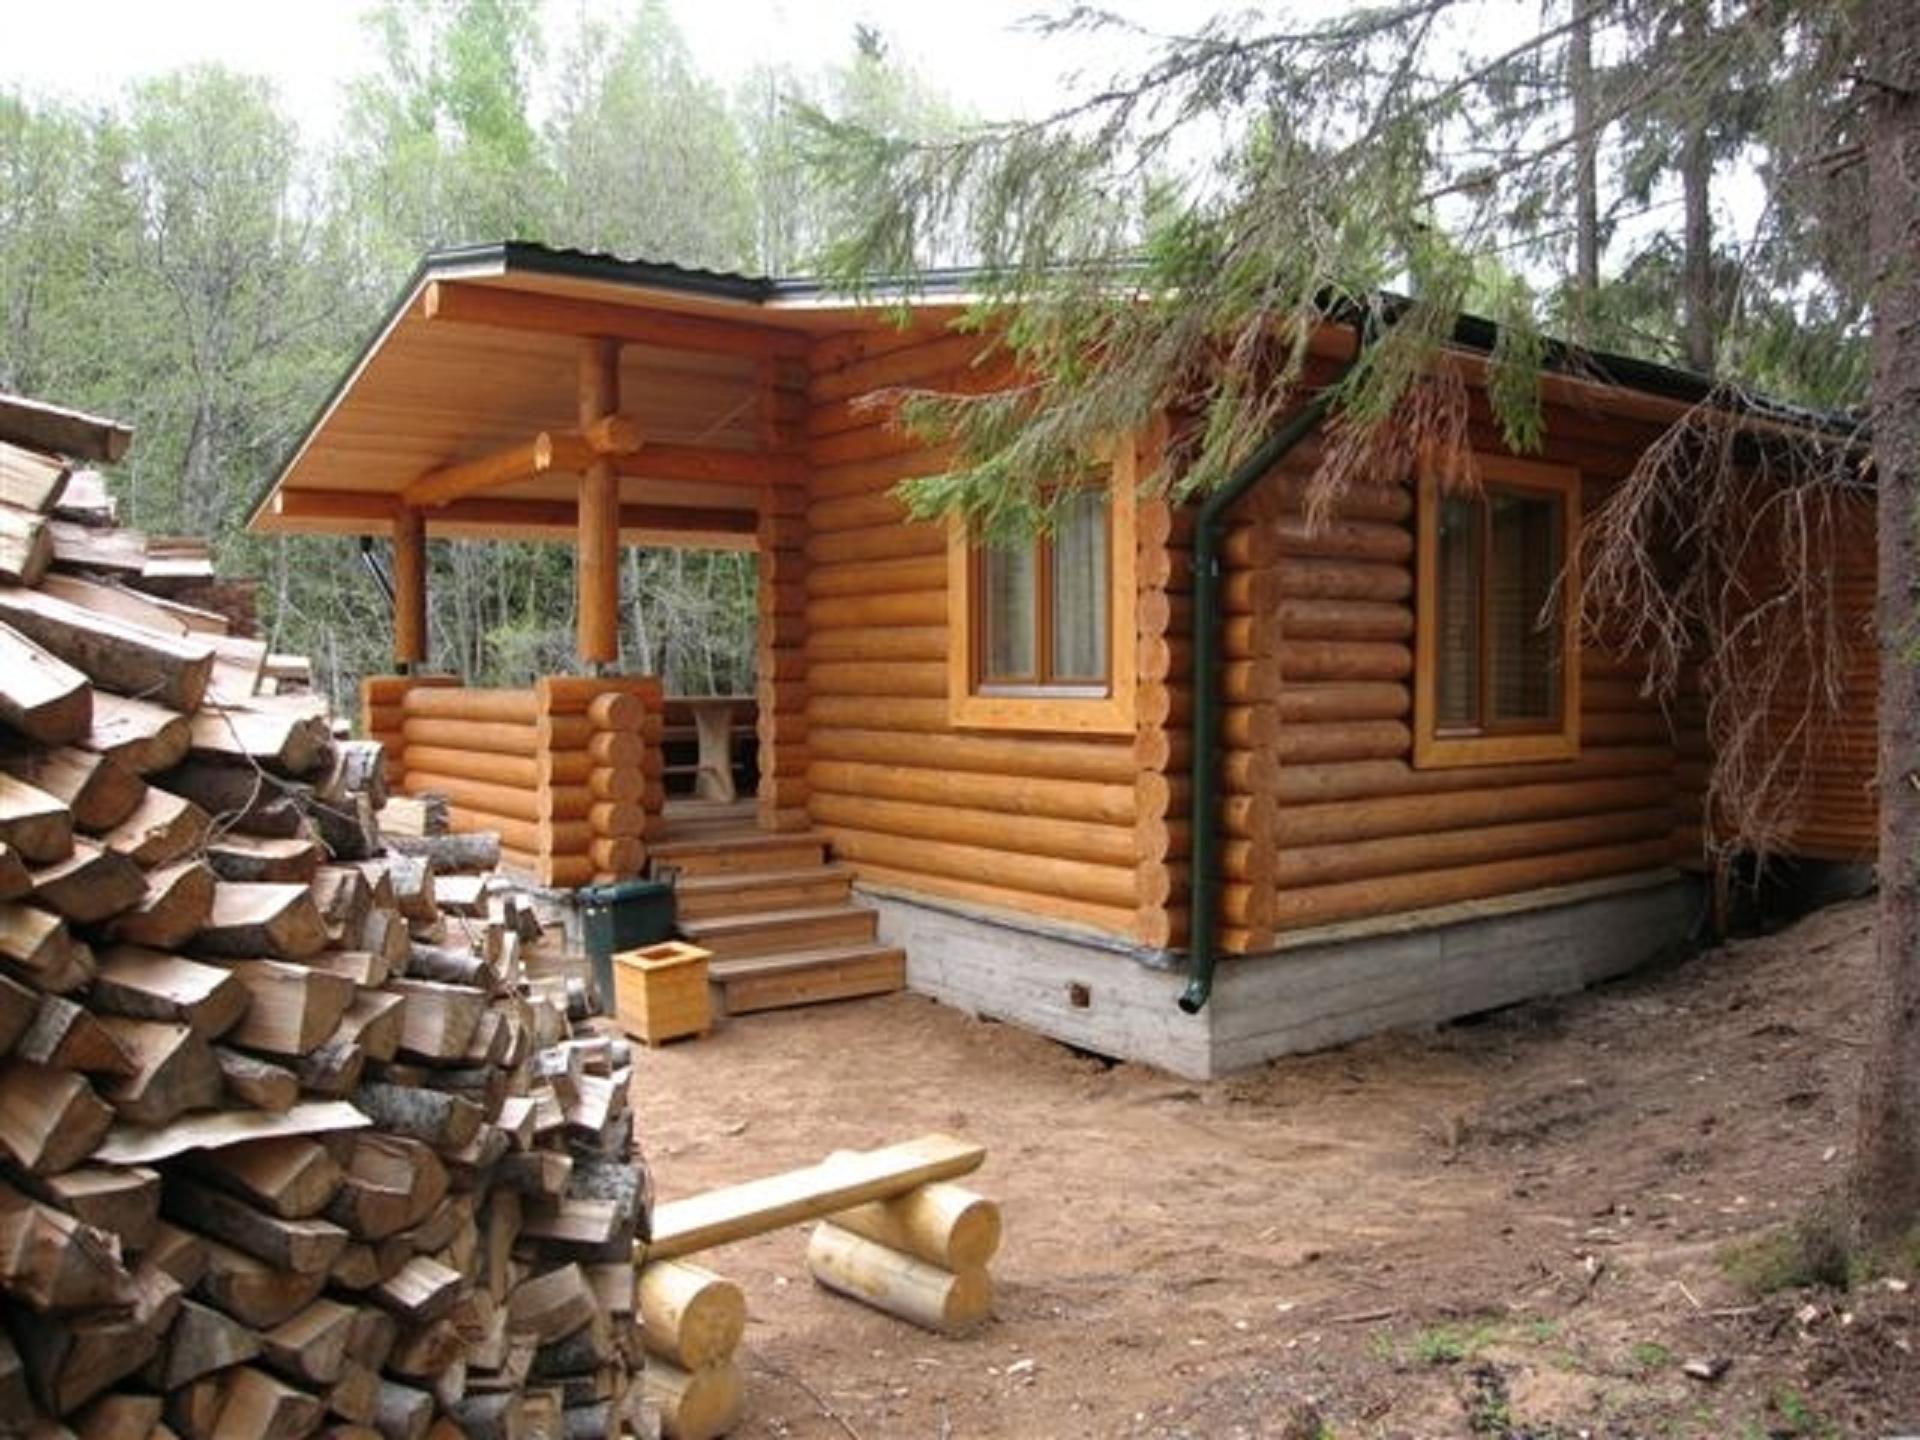
A sauna is an essential feature of modern countryside leisure, renowned for its beneficial effects on the human body. Regular visits to the steam room help eliminate toxins, relieve various ailments, relax the body, and provide a break from nervous tension and endless stress. The first saunas were built back when the Scythians lived, and the structure resembled a primitive stone house or a tent. Today, the sauna remains an archaic element that has withstood continuous competition from shower cabins and bathtubs.
Building a sauna on your own is quite challenging, but possible. The process is divided into several sequential steps: selecting construction materials, determining the type of structure, choosing its location, carefully planning the project, and then executing it. To ensure that a self‑built cottage sauna serves for as long as possible and remains reliable, the builder should realistically assess their capabilities, knowledge, and skills before starting work.
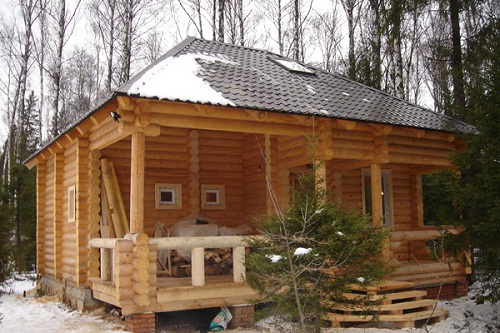
Historically, the most advantageous spot for a sauna was the shore of a freshwater body. This condition is still especially relevant today when other water sources are absent nearby. The main advantage of such a location is the possibility of a contrasting cold‑water plunge after a hot sauna session.
Nowadays, there is no need to tie a sauna to natural water bodies, so the choice of site depends entirely on the owner. The decision should be based on the distance of the plot from the road and the presence of artificial or natural fencing. Also remember that a DIY cottage sauna must be placed at least fifteen meters away from the house according to fire safety regulations.
The sauna layout typically includes three zones: the washing area, the steam room, and the vestibule. This division follows certain standards; for example, the vestibule is calculated at 1.4 m² per visitor, the washing area at 1.2 m² per person. The vestibule should be planned with enough space for furniture: a wardrobe for clothes, a chest for storing coal or firewood, and benches for relaxation. In the washing room, you need containers for cold and hot water, stove equipment, and a few loungers.
Before building a cottage sauna, you can refer to an example size calculation for a family of four. According to the dimensions, the steam room should be 4 × 4 m, divided into a sauna space of 2 × 1.5 m, a washing area of 2 × 2 m, and a vestibule of 2.4 × 1.5 m. This compact structure fits easily on a plot, though it won’t accommodate a large gathering.
Special attention should be given to the layout of the entrance group and window openings. Preferably, windows are placed on the southern or southwest wall, and the entrance is on the southern side only. Such a scheme simplifies winter operation, as snow melts faster on the south side, and the window orientation lets more natural light into the interior. If the sauna is built according to all requirements, it will serve trouble‑free for many years.
The whole process is broken down into several phases, the main ones being: preparation of building materials, foundation work for the structure and stove, installation of all necessary utilities, floor laying, and erection of walls with the roof. Additionally, the builder will need to handle finishing works, and the installation of doors and windows. Wood is the best material for a sauna because it naturally manages excess moisture, drawing it out of the interior.
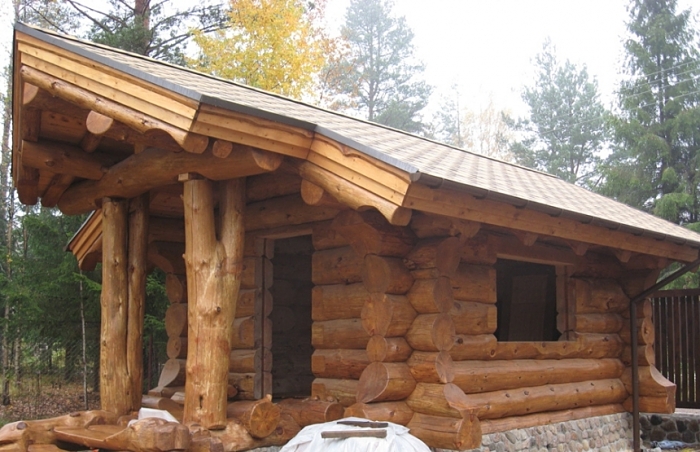
The contractor should focus on using pine or spruce logs. Logs with a diameter of more than 250 mm are suitable for sauna construction. However, it is not mandatory to use a single type of wood. A well‑built DIY cottage sauna can have oak floorboards and interior finishing with linden or white spruce.
The entire structure must rest on a reliable foundation: a pile (post) foundation for weak or loamy soils, or a continuous monolithic strip foundation for soils with high shrink‑swell potential. Therefore, before construction begins, a soil investigation is essential. Only after confirming suitable ground conditions can you be confident that the building will not tilt or settle unevenly over time.
Typically, cottage sauna projects vary, but they follow a common workflow. Wall assembly is performed according to the numbering marked on each log. This labor‑intensive procedure demands utmost attention from the builder. For fastening, it is recommended to use wooden dowel spikes (mortise‑and‑tenon) with lengths of at least 150 mm.
Proper attic (roof space) arrangement must not be overlooked. It should have adequate ventilation, which can be achieved with two small doors placed opposite each other on the far walls. If the attic is insulated and finished, it can serve as additional living space. By adhering to all listed norms and requirements, a cottage sauna becomes an excellent addition to a private house. The quality of such a structure depends directly on the selected building materials, so cutting costs is not advisable. Before starting, the builder should also evaluate their own abilities and study as much information on the topic as possible.
Comments