Articles
How to Build a DIY Stove at Your Country House
Step-by-step guide to building a long‑lasting brick stove for your dacha using quality materials and basic tools.

Articles
Step-by-step guide to building a long‑lasting brick stove for your dacha using quality materials and basic tools.
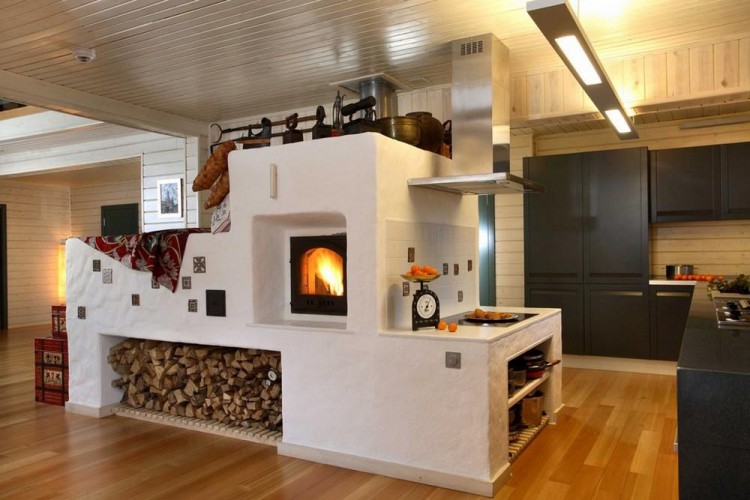
Many dacha owners often wonder what kind of stove they need and how they can build it with their own hands. A beautifully laid brick stove creates a true family hearth and an incredible sense of comfort. In addition, it can warm the house during the cold season. This construction does not require much labor during operation, as the fire only needs to be stoked twice a day. Stove structures have good heat capacity and are fire‑safe. However, before starting the building process, it is advisable to study every detail, even those that seem insignificant at first glance.
First, decide where the stove will be placed. The stove should be positioned to provide the strongest heating for the living space, taking its functional features into account. If the stove is needed only to warm the air in a room, it is best to install it in a wall shared with an adjacent room. If you plan to cook on it, choose a location closer to the kitchen.
It is essential that the stove be placed near a wall where a flue will be routed outside. Also, calculate its weight in advance, because brick is heavy. For this reason, the foundation should be poured in concrete. If the house has a wooden floor, pick a spot where the floor covering can be easily removed to lay the foundation. If the floor is concrete, the stove can be laid directly on it.
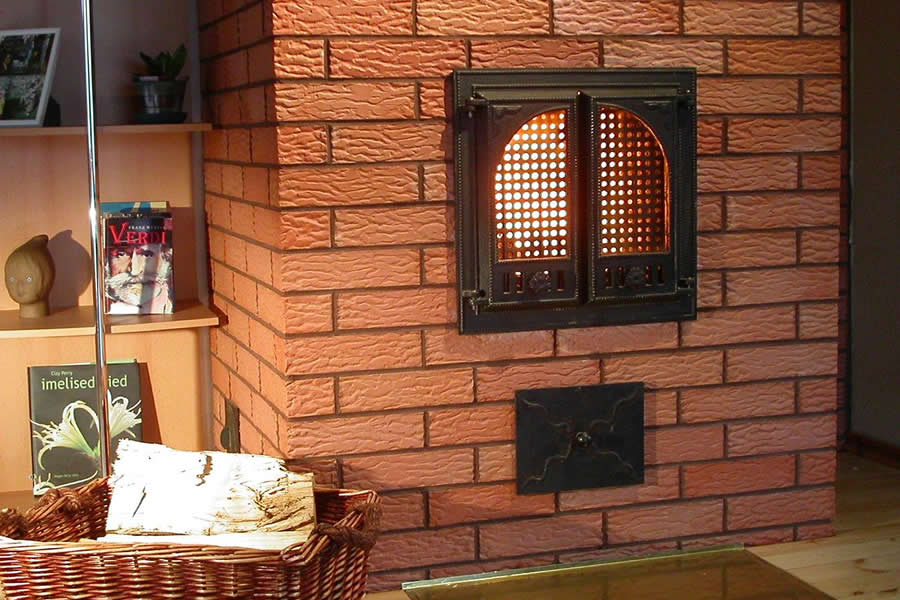
The foundation can be made of stone or concrete. To achieve a quality result, set up formwork before pouring, which will give a perfectly level surface. Along the entire perimeter of the excavated pit, lay wooden joists and secure them with rebar up to a certain height. Use high‑quality material for the foundation, but there is no need to overdo it. For example, a grade M‑250 concrete mix is suitable, as the foundation will be inside the building and will not bear huge loads. After pouring the foundation, let it rest for several days to cure completely before continuing.
Before laying bricks, ensure proper waterproofing. Place a thick layer of rubberized membrane on the foundation. Then purchase a mortar specifically designed for stove construction. A heat‑resistant mortar is best because it is stronger and will extend the service life of the stove. Laying the bricks will then be easy and comfortable.
The first course should be made of fire‑clay (refractory) bricks, which do not react to temperature changes in this part of the structure. At the bottom, the stove includes an ash chamber, so high temperatures are not a problem for the material. Refractory bricks are not used for the outer facing because they look unattractive; for the exterior, choose a more decorative material such as ornamental stone.
After the first row is laid, install the door of the air inlet, securing it with steel wire first. Then you can start the second course, taking care to account for the size of the ash chamber. Its floor should be lined with a high‑quality steel sheet, 3 mm thick. This makes later cleaning of ash much easier.
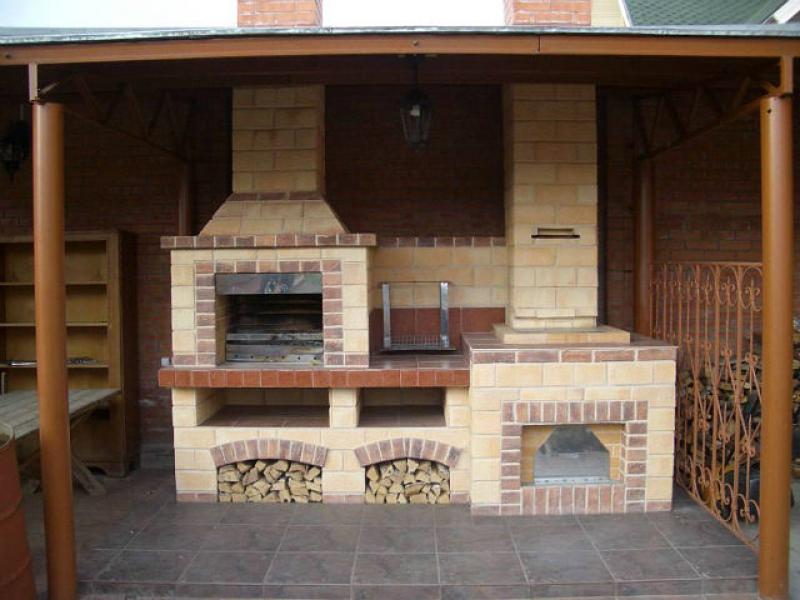
Next, lay the third layer of bricks while simultaneously installing the internal metal framework. The most challenging stage is building the middle part of the structure, where the firebox is formed. This part holds the fire, where wood and coal are burned to heat the whole room. It is recommended to place a metal frame in the middle section. If you can create slots in the masonry, the frame may be omitted.
To do this, mark the existing brick course where the flues will be installed. Cut the slots with an angle grinder. After completing this step, lay a couple more brick layers, then form the rear part of the structure – the opening for the flue. This work requires great care, because the subsequent masonry determines the size and height of the combustion chamber. The average size of this chamber is about 4–5 bricks wide.
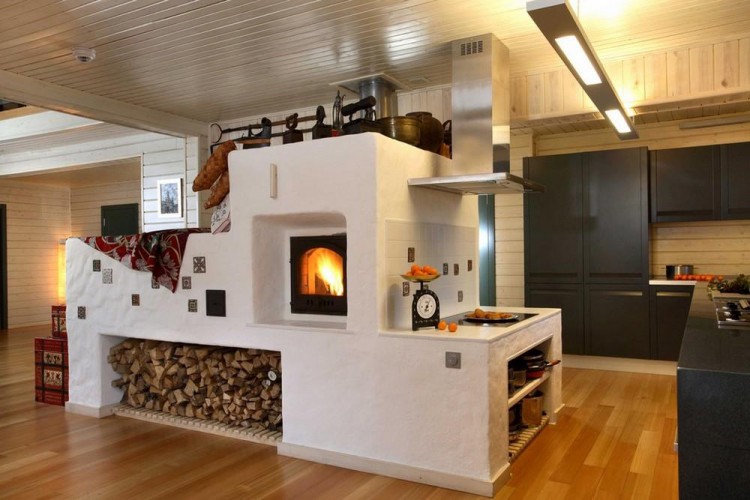
Usually, all elements needed for the stove are purchased before construction, so you can plan according to their dimensions. When the brickwork is almost finished, cut a slot in the top layer with an angle grinder. Insert a metal rectangle or angle into the opening; the shape depends on the cooking surface you intend to use. The cooking surface should be set on the same mortar as the bricks. After the mortar sets, place a cast‑iron plate on top.
When all work is completed, you can finish the exterior cladding. Various materials can be used, depending on personal preference, but they must be heat‑resistant. By following these recommendations, you will have a beautiful dacha stove that not only warms the house during cold weather but also fits perfectly into the existing interior of the room.
Comments