Articles
How to Build a DIY Toilet with Shower at Your Summer Cottage
Step-by-step guide to constructing a functional toilet and shower at your cottage using affordable materials and proper placement.

Articles
Step-by-step guide to constructing a functional toilet and shower at your cottage using affordable materials and proper placement.
Today many cottage owners often wonder how to build a toilet and shower with their own hands so that these structures are both high‑quality and blend well with the site’s appearance. These two buildings are essential: everyone wants to rinse under cool water after a hard day in the garden or take care of personal needs. To construct them correctly, it is recommended to study all existing details, features, and nuances that may be useful during the process.
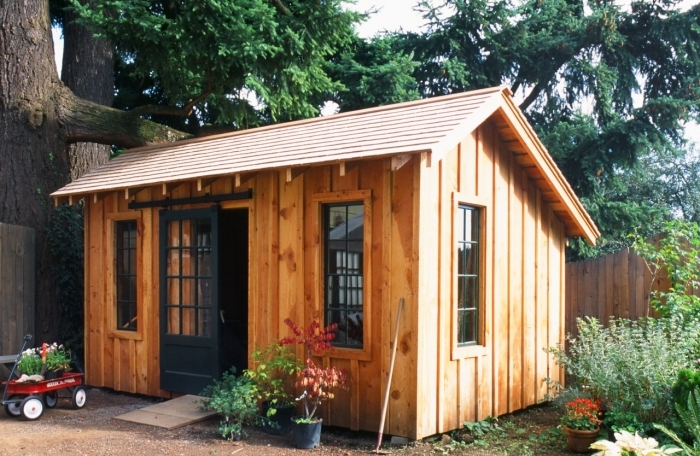
It is advisable to locate the toilet at least fifteen meters away from a well or drainage well to prevent harmful contaminants from reaching the surrounding soil and polluting the water. When choosing the site, you must also consider where the least snow accumulates during winter. The entrance door should be installed at this spot; otherwise, the toilet will be unusable in winter. Additionally, provide convenient access for a septic‑tank service vehicle, as the pit needs regular emptying.
The size of the pit is crucial when building a cottage toilet cabin. The larger the volume, the longer it takes to fill. When emptying the pit, plan a special hatch through which waste will be pumped out. If a well or water well is nearby, ensure the bottom and walls of the pit are properly sealed. First, clear the area where the future toilet will stand of excess debris and vegetation so you can start digging the foundation. The recommended pit dimensions are: 1 m wide, 1.2 m long, 2 m deep.
After you have excavated the trench, you need to reinforce its walls. Roofing sheets work well for this; place them inside the pit. Secure them by driving metal brackets into the ground, then drill small holes in the sheets and connect the brackets. Gaps between the walls and the sheets should be filled with rebar rods, then a layer of roofing felt, and finally poured concrete. It is advisable to line the bottom of the trench with an old sheet of metal so that waste does not soak into the soil.
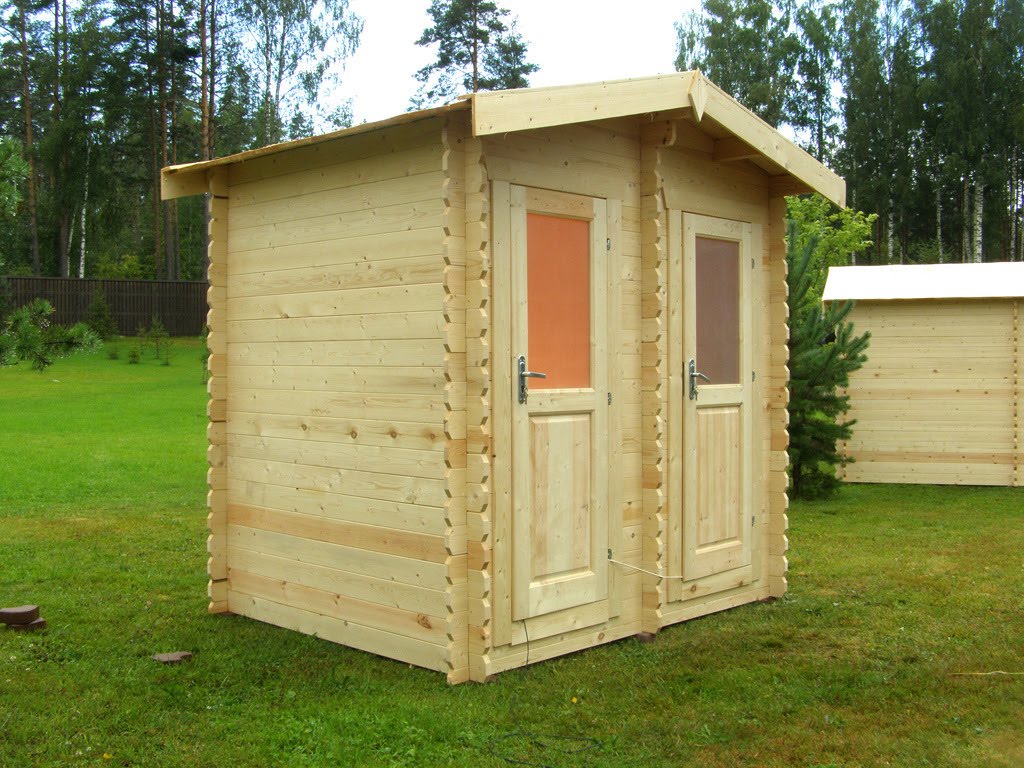
To save space and building materials, it is recommended to construct the shower and toilet in the same footprint. Suitable dimensions for the combined structure are: width 1.5 m, length 3 m, height 2.2 m. The resulting rooms will each be 1.5 m × 1.5 m, which is sufficient for comfortable use of both toilet and shower. When selecting construction material, wood is the best choice. Which foundation to use? The answer is simple: a column (pier) foundation works perfectly for this type of building, with a depth of 80 cm.
To ensure the shower and toilet are comfortable and durable, you must use high‑quality building materials. For this foundation you will need 16 wooden stakes. Place fourteen stakes at intervals of 0.75 m; where the pit will be, omit a stake. The spacing between all wooden rods must be uniform, and the corners should be right‑angled. Using a garden‑type auger, drill sixteen holes. Around each hole install a wooden formwork measuring 20 cm in width, height, and length. To make the foundation strong, insert three reinforcement rods into each hole, line the pits with roofing felt, and pour a concrete mix.
For the frame, use pine lumber. After the cement has fully cured, remove the formwork and bind the lower part of the foundation. Cut the lumber with a chainsaw and join the pieces to form a half‑wooden structure. Place a special covering over any protruding spikes and secure it with nuts. The result should be a solid lower binding of the foundation: lumber laid on the standing posts and tightened with nuts. To protect the wood from decay, treat it with a suitable preservative. For a sturdy seat, install two metal channels.
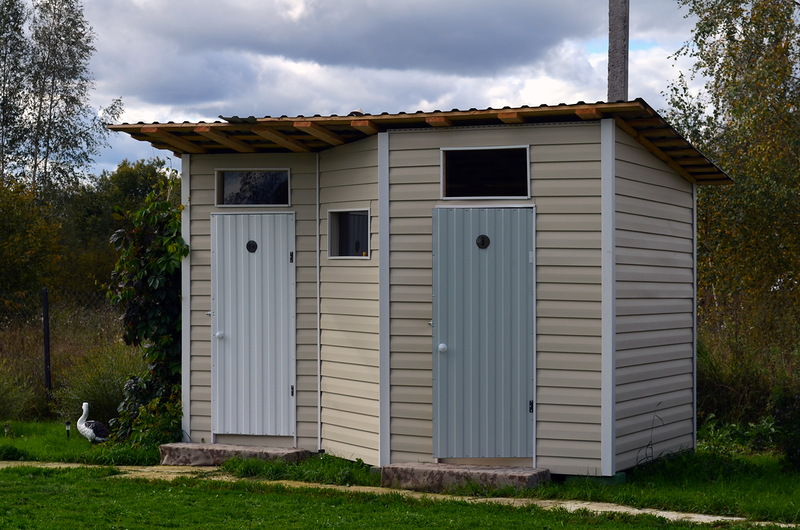
After completing the steps above, you can install the columns for the frame and mount the roof. The columns should be 2.2 m tall to achieve the correct structure. Start by installing wooden posts at the corners, then continue around the entire perimeter. Check the verticality of the installed elements with a builder’s level. Connect the posts using metal plates and brackets. To ensure rigidity, add lower braces fastened with self‑tapping screws.
Next, proceed with roof installation and external finishing of the entire building. You may choose any material for the finish, as well as for the roof, provided the roof is flat because a water tank will be placed on the shower. To protect the wood from rot, treat it with a special antiseptic; this will guard the structure against insects and adverse weather conditions.
In conclusion, building a toilet with a shower for a cottage does not require special skills or unique conditions. At the planning stage, create a detailed plan and follow it precisely. List all building materials needed for the project and a step‑by‑step action list. Only then will you achieve a strong, reliable construction that will serve for many decades.
Comments