Articles
How to Build a Roof Yourself: Step‑by‑Step Guide
Learn the essential steps, roof types, and construction tips to safely build a roof on your own without costly mistakes.

Articles
Learn the essential steps, roof types, and construction tips to safely build a roof on your own without costly mistakes.

Today many craftsmen decide to build a roof with their own hands, but not everyone fully grasps the seriousness of this decision.
Maximum attention must be given to its construction. Incorrect execution can cause irreversible damage: the roof may become crooked or even collapse, leading to physical injury and financial loss—outcomes no one wants.
Before starting work, an inexperienced person should familiarize themselves with the theoretical material: understand the different roof types, choose the appropriate one, and learn how to build a roof without external help.
Despite the variety of roof types, there are some general basic principles of construction. Once understood, any builder will be able to erect a roof of any difficulty.

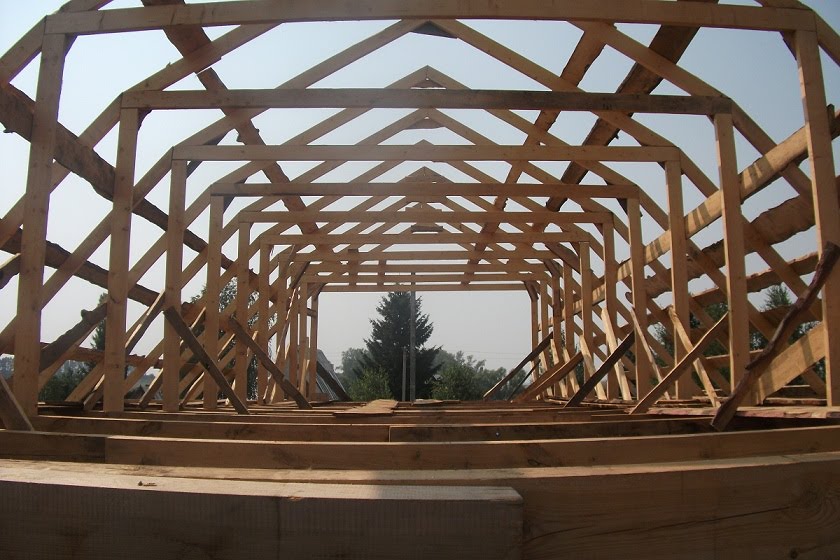
The term wall plate (German: Mauerlat) refers to the board that bears the main load, upon which the roof rests. For its installation, wooden beams with a cross‑section of 15 × 15 cm are used, placed parallel to the ridge line. The wall‑plate beams must be firmly fixed, so attention to their installation is required already during the wall‑finishing stage.
To do this, lay a thick, robust rope (called a katanka) between bricks or blocks at one‑meter intervals. The middle of the rope is anchored within the wall, while its ends hang down. This is only part of what you need to know to ensure the roof lasts as long as possible.
To guarantee sufficient structural strength, focus on the beam work that supports the attachment of the supporting joists to the wall plate. If a beam longer than 4.5 m is used, additional progonglieder (supporting brackets) must be installed. For this work, choose wooden support beams with a cross‑section of 7 × 15 cm.
The beams are fixed using a special joint secured with 20 cm nails:
What else makes a house roof stable and reliable? This technique allows the bracing posts to be firmly mounted. The upper ends of the beams interlock within the decking, so their edges cover the ends of the parallel bracing posts. Fastening is done with bolts or nails.

To reduce the splitting forces acting on the wall plate, the split stones should be tied together with strips 5–15 cm wide. This element is called a rigel; its size and spacing must be planned carefully.
You also need to attach the kobylka (a 50 × 100 cm board) to each strut leg. The attachment is made with screws or metal clamps to the shingle board. The foreman must consider this preparation in advance. For this purpose, a 15 cm‑wide slot is cut into a board where it will be fastened to the wall plate. This method of roof construction helps achieve a robust, reliable structure.
It is essential that the roof beams and boards make proper contact. A checklist of these tasks should be completed before the assembly begins, allowing you to later piece together the existing structure easily. At this stage, also select the roof’s pitch angle after analyzing the surrounding terrain. The optimal range is 15–40 degrees, sufficient to prevent problems with rainwater and melting snow.
In regions with strong winds, a steeper pitch of about 20 degrees is recommended. If you follow all the rules outlined above before building a roof with your own hands, the construction will endure for many years.
Comments