Articles
How to Build a Sauna Yourself – Complete DIY Guide
Step‑by‑step DIY guide to building your own sauna, covering site selection, material choice, foundation, walls, roofing and finishing work.

Articles
Step‑by‑step DIY guide to building your own sauna, covering site selection, material choice, foundation, walls, roofing and finishing work.
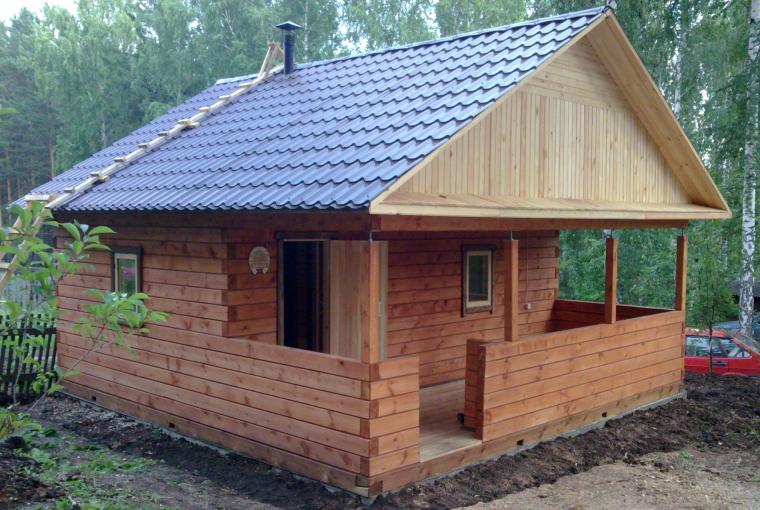
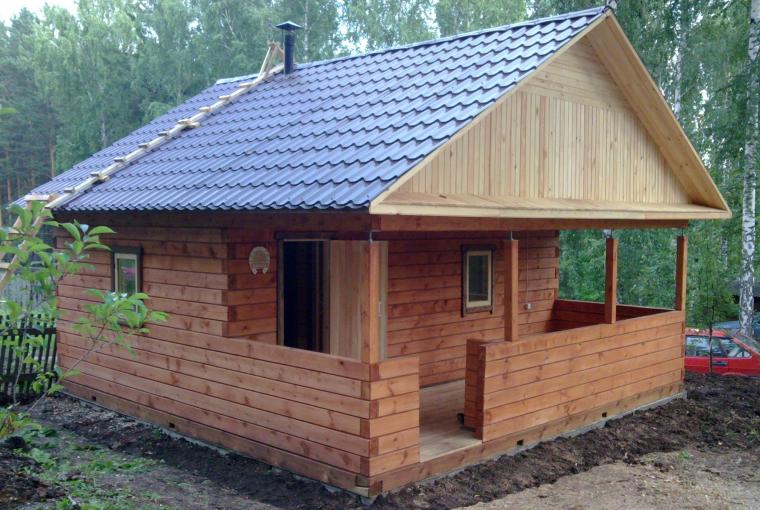
Why do we need a sauna, how to build one yourself, and how to choose construction materials correctly? The first structures of this type were built back when the Scythians lived in the region. Originally, a sauna was a special tent or a portable stone furnace. The modern sauna is a kind of archaic institution that has survived centuries of competition with baths and showers. Regular visits to the sauna eliminate various ailments, expel harmful substances accumulated in the body over years, and give the body a chance to fully relax and recover.
Building a sauna on your own is a challenging but doable task. The whole procedure is divided into several consecutive stages, including material selection, type of construction, location, project planning, and implementation. Before starting the work, you need to familiarize yourself with the theoretical information on how to make a sauna yourself and understand where to begin.
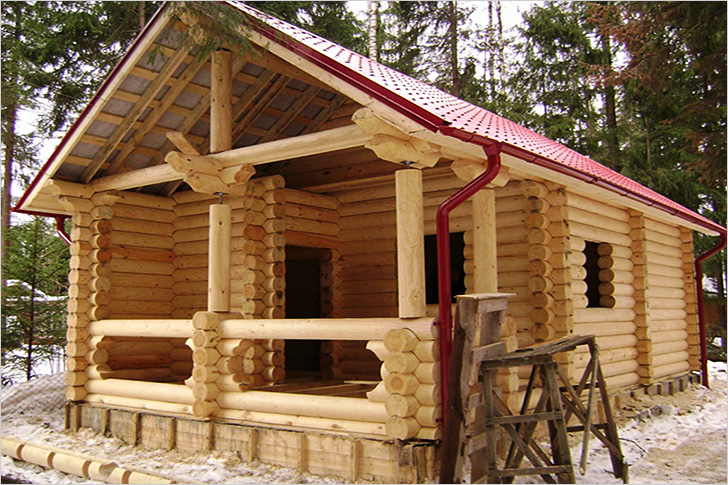
The most preferred spot for a sauna is near a fresh‑water source. This condition is mandatory if there are no other water supplies nearby, because it allows for a contrast shower: after heating in the sauna, you can plunge into cool water.
Today, however, this requirement is no longer essential. The location does not have to be tied to natural water bodies, so the choice is left to the owner. Important factors also include the distance of the building plot from the road and the presence of natural or artificial fencing. In addition, fire‑safety regulations require a minimum distance of fifteen meters between the sauna and the house.
The structure is divided into three rooms: the sauna (steam room), the washing room, and the vestibule. There is a rough standard: the vestibule area is calculated at 1.4 m² per person, the washing room at 1.2 m² per bather. The layout must also accommodate furniture: special compartments for clothing, a chest for firewood or coal, and benches for relaxation. The washing room should be equipped with hot and cold water containers, several loungers, and a stove.
For example, for a family of four you would need the following dimensions: a 4 × 4 m sauna, a 2 × 1.5 m steam room, a 2 × 2 m washing room, and a 1.5 × 2.4 m vestibule. This compact building does not take much space on the plot, but it is not suitable for large gatherings.
Pay special attention to the placement of the entrance group. In moderate‑climate or cold zones, the entrance should face south, while windows are best placed on the west or southwest wall. This arrangement makes winter use easier because snow melts faster on the southern side, and the window orientation provides richer interior lighting. If you consider all these points before building the sauna yourself, the structure will serve you for many years.
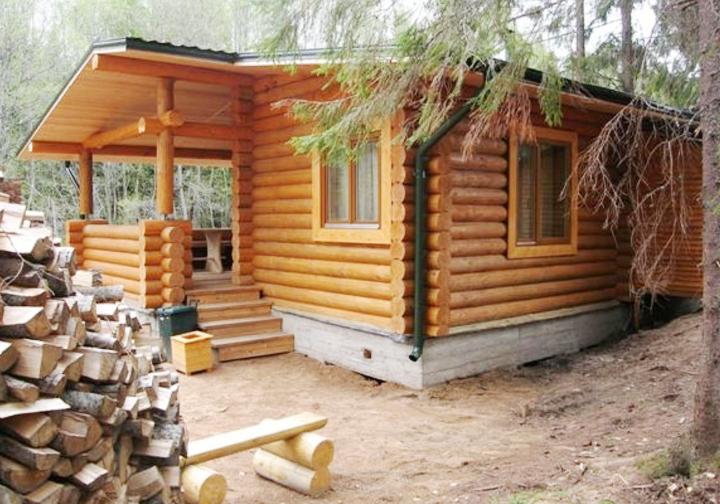
The process can be divided into several sequential actions. The main ones are: preparing building materials, laying the foundation for the building and a separate foundation for the stove, installing drainage, laying floors, erecting walls, and installing the chimney. Additional but very important tasks include finishing work, installing doors and windows. Wood is the most suitable material because it handles excessive moisture well, drawing excess humidity out of the interior.
It is advisable to use round logs of spruce or pine with a diameter of at least 250 mm. Other wood species such as linden, oak, or larch can also be incorporated. How to finish the interior correctly? To ensure maximum durability, lay the floors on oak sleepers and lower joists, and finish the interior with white spruce or linden.
The sauna should stand on a strip or pile foundation, chosen according to the local soil type. The foundation depth is set to the frost line. Soils are classified as follows:
Therefore, before building a sauna you must investigate the ground. For a brick stove, a separate foundation is constructed, independent of the main one, and drainage lines are laid simultaneously.
Assemble the walls according to the numbering marked on the logs. This procedure is not simple, so the builder must pay close attention. Fastening can be done with mortise‑and‑tenon brackets of 150 mm length. While constructing the roof, it is advisable to create an attic space with good ventilation. Consequently, before deciding to build a sauna yourself, the owner should realistically assess his capabilities.
Comments