Articles
How to Build a Sauna Yourself: Step‑by‑Step Guide
To build a sauna yourself, you need to study the theory thoroughly. Following a step‑by‑step guide ensures the sauna lasts as long as possible.
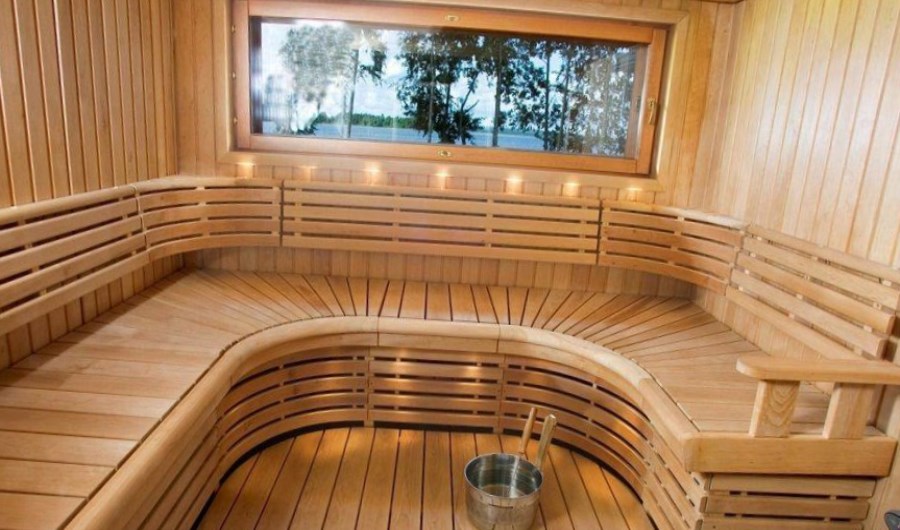

Articles
To build a sauna yourself, you need to study the theory thoroughly. Following a step‑by‑step guide ensures the sauna lasts as long as possible.
Many cottage owners and homeowners often wonder how to build a sauna with their own hands. Such a structure has long been considered almost mandatory; it serves as a “breathing space” after a hard workday or simply a place to rest and relax. That’s why saunas are increasingly seen on private land plots.
But not everyone can afford to have this structure built by specialists, as the procedure can be quite expensive. Therefore, most owners prefer to build the sauna themselves. To carry out this process on your own, you must study all the nuances in detail. If you don’t, the result may have a short service life or even pose health risks. If you don’t know how to build a sauna yourself, study all the intricacies of this procedure.

Often the choice of the main material for constructing a sauna depends on its cost, the region, and personal preferences. Most private owners choose brick or wood, as these two building materials are the most affordable and have good performance characteristics. You need to calculate the size and approximate weight of the structure to avoid mistakes in site placement. It is also recommended to decide on the landscape design in advance, because the sauna’s appearance will give your yard style and elegance.
Quite often a sauna is built within an existing building, simply allocating space for a steam room and a washing room. In that case you don’t have to think about how to build a sauna from scratch, as the procedure is much simpler. However, many construct the building from the ground up; in this case it is advisable to study all construction stages in detail—how to select the right plot, create a building plan, estimate costs, develop a general project, how to lay the foundation, erect walls, and carry out both exterior and interior finishing, and so on.
It is not recommended to build the structure near a water body, because a flood could simply inundate it. One of the best options is to attach the sauna to an existing building—house, shed, garage—saving materials and energy. It is also advisable to place the sauna in the backyard where there are no drafts. You must ensure proper vapor barrier, waterproofing, and ventilation, because without them the building will develop unpleasant odors during use. Additionally, take care of fire safety in advance to significantly reduce the risk of dangerous situations.

After you have decided on the location and the material of the sauna, clear the plot of unnecessary debris to start the first construction stage – laying the foundation. A strip (continuous) foundation is the best choice because it is universal and suitable for any building material. You must correctly calculate the main foundation parameters, as the durability of the finished structure depends on this element. It is also necessary to create bedding layers of gravel and sand, select reinforcement, and add thermal insulation.
Thus, after preparing the trenches, laying the bedding, and installing reinforcement, you can proceed to pour concrete. After the concrete is poured, let it cure for two to three days. It is best to pour the concrete about 30 cm above ground level, so you don’t start wall construction where the foundation meets the soil. Engineering utilities can be installed either before pouring the foundation or later, during wall erection. Remember to apply waterproofing to prevent moisture penetration.
If you don’t know how to build a sauna yourself, studying the detailed process will ensure success. The time required for wall construction largely depends on the chosen material. If you decide to build the sauna from brick, the process will be slower because the mortar must dry before the bricks can bear weight. Therefore many owners prefer wooden logs; their installation is quick and problem‑free, and wood’s performance characteristics are a major advantage.

After the walls are erected and their strength verified, move on to the roof. First, create a single, unified roof base to install the rafters. Once this is done, you can install the sheathing. Depending on the roofing material you choose for the sauna, you must also select a chimney for the stove. The chimney does not always have to be on the roof; it can be installed in a wall, so consider this option carefully. The material of the roof is a matter of personal preference and installation difficulty.
After completing the roofing work, you can proceed to floor installation. Insulating the floor is advisable, as many people enjoy steaming in the sauna even in winter, when temperatures are low. Once the floor is finished, you can move on to interior and exterior finishing. Here owners follow personal preferences, but it is best to prepare a detailed plan outlining each step. Only then will a DIY sauna construction go smoothly, resulting in a truly high‑quality, beautiful, and worthy outcome.
Comments