Articles
How to Build an Open Terrace Attached to Your House
Learn how to build a terrace foundation, choose materials, and follow key steps for a long‑lasting attached terrace.

Articles
Learn how to build a terrace foundation, choose materials, and follow key steps for a long‑lasting attached terrace.
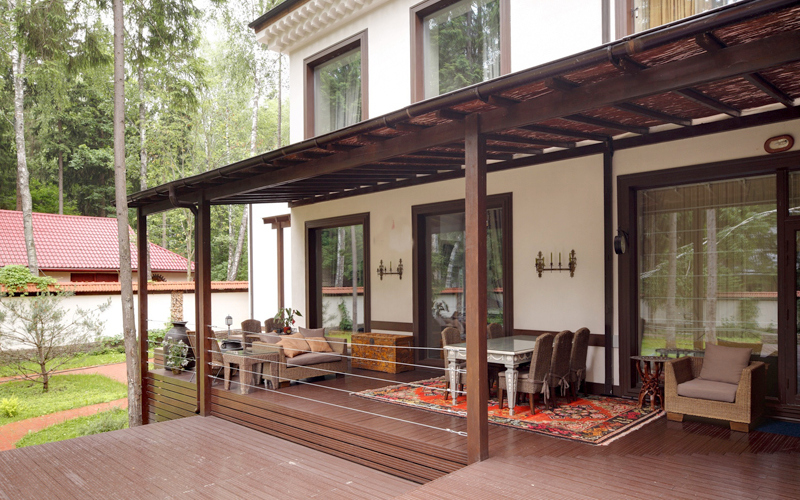
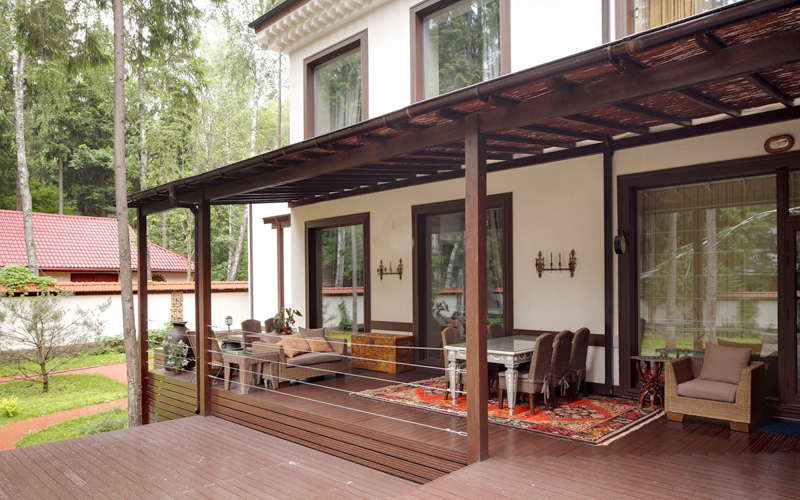
Today an attached terrace gives the opportunity to enlarge the living area and create extra space for full‑time leisure. Closed, glazed extensions also reduce the building’s heat loss. Building a terrace yourself does not require huge expenses and can be done with DIY skills. The most important step before starting work is to develop a proper project plan and select suitable materials.
By construction method, terraces are divided into open and closed with glazing. The open type is ideal for warm‑season use, while closed verandas are suitable for year‑round use. Modern terraces can be combined, i.e., half‑glazed.
A veranda can also be pass‑through, meaning you must walk through it to reach the house interior. Such an addition is usually placed on the side of the front or rear entrance. A non‑pass‑through veranda does not allow direct exit to the street.
A terrace may wrap around one or more sides of the house. When it occupies space along two adjacent walls, it is called a corner‑type extension. More often it covers only part of a single wall. Shapes vary: the traditional rectangle is most common, while semicircles and hexagons are rarer because they are more complex to build.
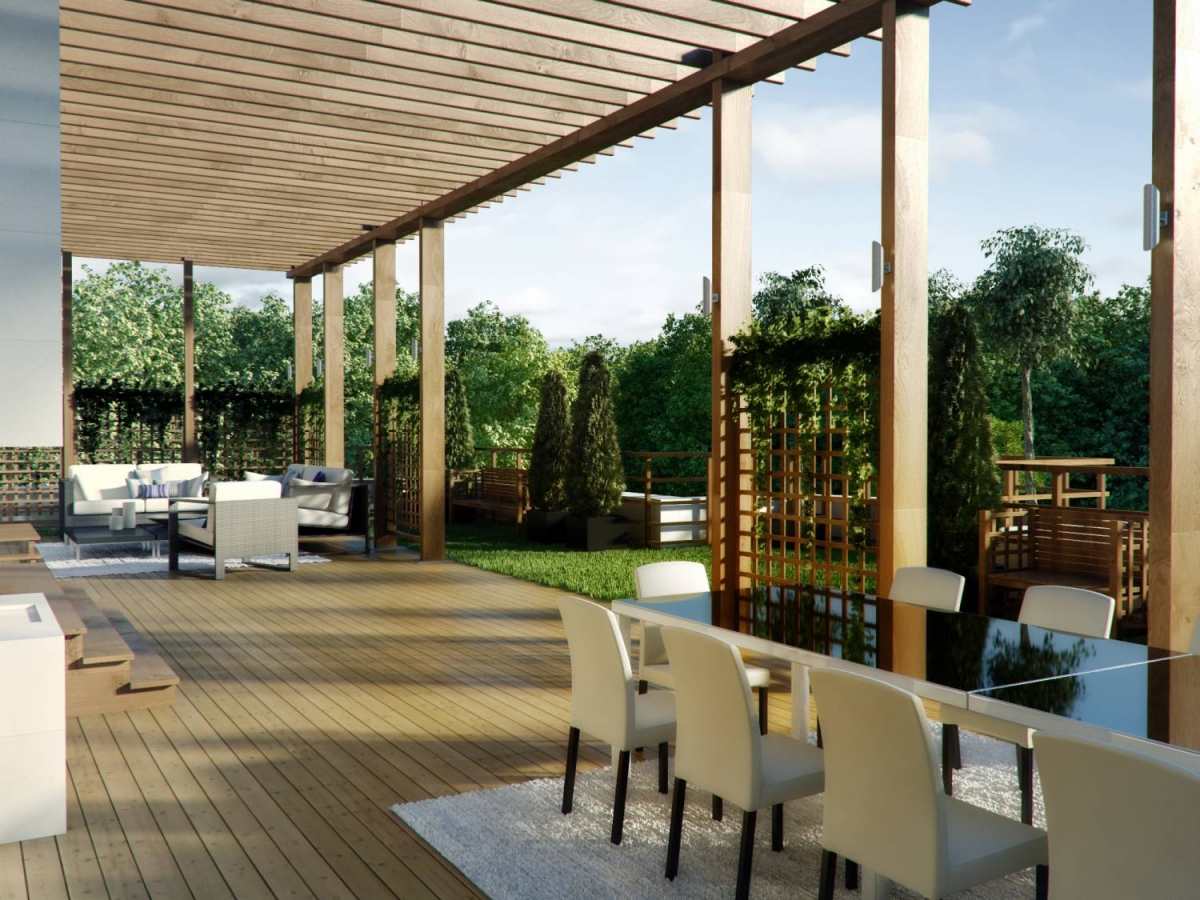
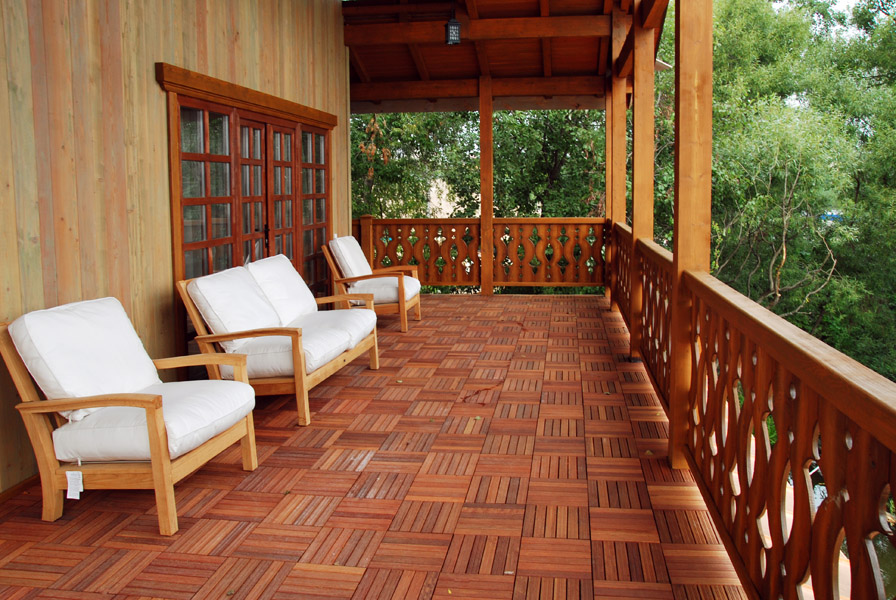
In many regions, builders usually choose wood for terrace construction. It is cheaper and much easier to work with. In areas where timber is expensive, structural elements are made of metal, and the cladding can be selected at will, for example polycarbonate or glass.
Veranda walls can be built from limestone, brick, concrete block, or natural stone. The finished structure may be left untreated or finished later, depending on the overall façade style.
When you prefer not to treat wood, the frame is best assembled from metal, specifically profile pipe. This base readily accepts polycarbonate sheets or double‑glazed units. Despite its seemingly fragile appearance, the material is sufficiently strong and retains heat well.
The builder must decide on the type of addition, its foundation, and the material for its construction. Before work begins, determine the veranda’s dimensions and its intended location. It is best to draw all measurements on a detailed plan showing pathways and other site features.
Construction proceeds in a clear sequence. If wood is the chosen material, follow this plan:
These steps represent a standard, typical instruction. To gain a fuller picture of terrace construction, the most problematic moments should be examined in more detail.
Linking the main house foundation with the new one is not recommended because the house has usually settled already. Rigidly attaching a new structure can cause problems unless the house stands on stable, non‑shifting ground. Moreover, terrace foundations are typically lightweight, so the bearing capacity of a column or pile foundation is usually sufficient.
After the concrete foundation gains partial strength, the frame of the addition can be built. At temperatures around twenty degrees Celsius, installation can start on the fifth‑sixth day after pouring the foundation. First, a waterproofing layer—such as double roofing felt coated with bitumen—is laid.
To quickly and conveniently secure the posts, special holders must be placed in the foundation during pouring. These are “P‑shaped” metal plates with a lower spindle that ensures a firm connection. To make the open terrace last as long as possible, the post ends are pre‑treated with antiseptic and fastened with nails or bolts to the plate. Following all recommendations, you can build the attached terrace yourself without any problems.
Comments