Articles
How to Renovate Your Bathroom DIY: Step‑by‑Step Guide
Learn essential planning, design, plumbing, and finishing tips for a successful DIY bathroom renovation.

Articles
Learn essential planning, design, plumbing, and finishing tips for a successful DIY bathroom renovation.
Today, renovating a bathroom by yourself is no longer just a functional task. Modern bathrooms must be comfortable, practical, ergonomic, and aesthetically attractive. Only a multifunctional space with well‑thought‑out design, elegant lighting, and proper zoning can bring the owner maximum joy and satisfaction.
The whole renovation process can be roughly divided into several stages. First, the homeowner should assess the initial condition of the room and decide what they want to achieve. After that, they can create a step‑by‑step plan to reach the desired result. A DIY enthusiast must ensure they have all the necessary tools. To avoid delays, it’s also advisable to calculate the amount of material that will likely be needed.
To make the bathroom interior truly attractive and harmonious, hiring a professional is advisable, but not mandatory; the owner can choose the décor based on personal taste. When planning the design, special attention should be given to the placement of each piece of sanitary equipment, furniture, and lighting. These elements must be arranged so that the room retains as much free space as possible.
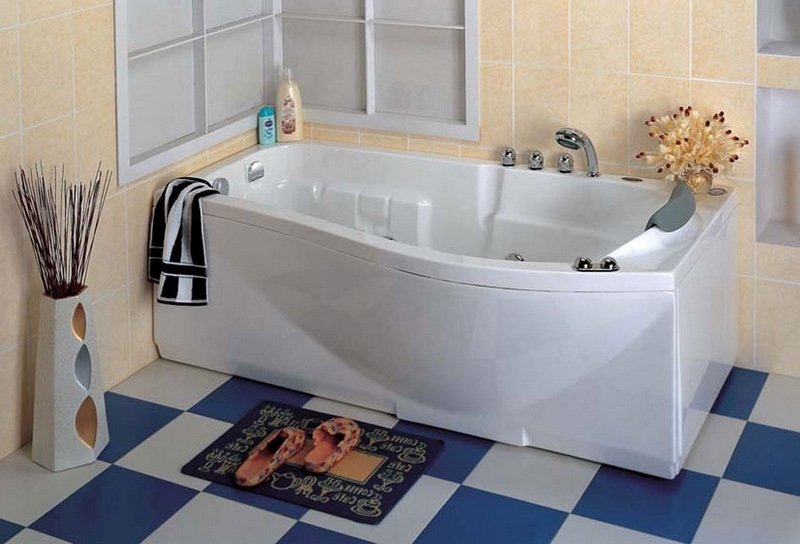
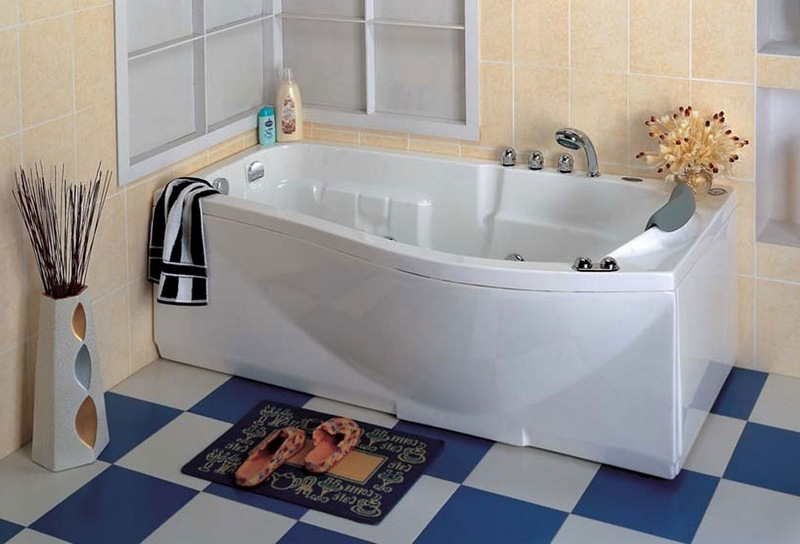
There is a wide variety of bathtubs with different designs—angular, oval, models with hydro‑massage functions—as well as shower cabins of various sizes and shapes. Before making a final choice, understand that showers can be equipped with many useful options, such as sauna or Turkish‑bath modes. If the room’s dimensions allow, a stylish bidet or an additional shower column can be installed alongside the main bathtub.
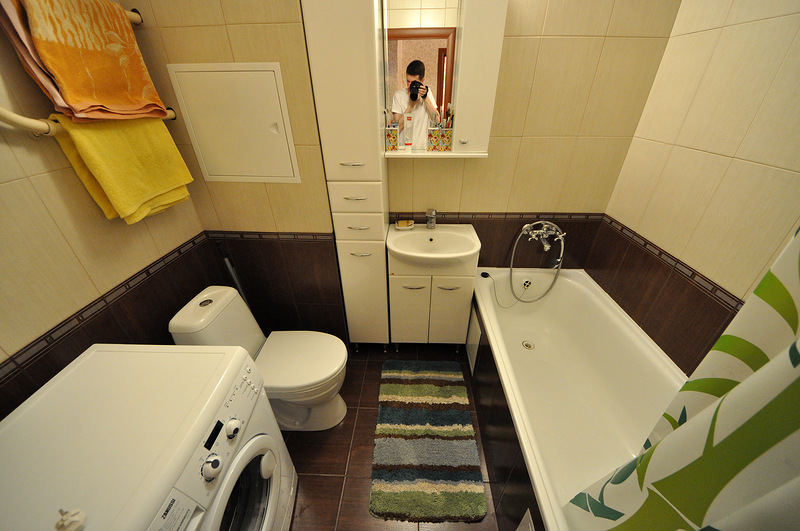
The primary requirements when selecting sanitary equipment and doing a DIY bathroom renovation are hygiene and practicality. Consequently, the design can consist of exclusively convenient items with organic forms. In small bathrooms, for example a toilet in a Khrushchev‑era apartment, visual expansion can be achieved with wall‑mounted fixtures.
Renovation inside the bathroom starts with the demolition of existing fixtures. For high‑quality work, the European‑style renovation method always includes the complete removal of all equipment from the room. Only after this can the worker level walls, level floors, address wiring and pipes, enlarge openings if needed, lay new wiring to appliances, and so on.
Next, the engineering communications are installed. Initially, consider installing a ventilation system to prevent future mold growth. A suspended ceiling will hide ventilation openings and electrical wires. At this stage it is also recommended to replace old pipes with new metal‑plastic or plastic ones. When performing a comprehensive DIY bathroom renovation, install a water meter, a towel dryer, and a special valve to shut off hot‑water supply within the apartment.
Special attention should be given to the installation work, as its quality determines the service life of expensive equipment.
Electrical wiring in a bathroom must have double insulation and sufficient power capacity. Wires are best routed inside a frame system or plaster. Electrical work must follow current regulations. For example, each switch and socket should have a design that protects exposed conductors from moisture.
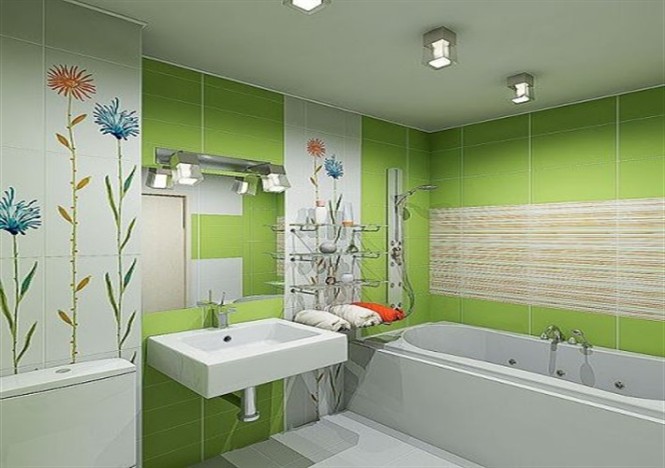
Immediately after removing the equipment, a floor screed should be poured. Installing underfloor heating is an ideal option. For finishing, you can choose not only tiles but also other materials such as decorative stone or plastic panels. Mosaic decorative models are also an option.
Ceiling finishing should be selected according to the bathroom’s specifics. For a small room, painting is the most suitable method. If ceiling height permits, a stretch‑ceiling system, gypsum fiber, decorative glass, or any other moisture‑resistant material can be used.
There are several practical tips that help avoid critical mistakes. For safety, plan the placement of light sources carefully. They must be out of reach of water, so use fixtures with closed diffusers and built‑in LED equipment.
Before starting a DIY bathroom renovation, understand that overusing plastic is unwise. A plastic ceiling combined with plastic walls can create a “cellophane bag” feeling. Do not skimp on paints and mixes; medium‑priced products usually offer the best balance of quality and cost. For tiling, select a special mortar designed for bathroom applications. When arranging equipment, leave a small gap between sanitary fixtures and the walls.
Comments